FreeDomain
Free domain registration and practical DNS learning resources for everyone.
- 209k
- Markdown
- AGPL-3.0
- 3 mo ago
github-documentation [learnwithfair, Learn with fair, Rahatul Rabbi, Md Rahatul Rabbi ,rahatulrabbi]
Repo learnwithfair/github-documentation, read from GitHub 1 min ago. learnwithfair has not joined Take My Repo.
learnwithfair/github-documentation is a public repo on GitHub by learnwithfair. github-documentation [learnwithfair, Learn with fair, Rahatul Rabbi, Md Rahatul Rabbi ,rahatulrabbi]. It declares no license on GitHub. Public does not mean open source: without a license, nobody is granted the right to reuse it. It is written mainly in HTML, has 2 stars and last changed on 2025-12-01. Nobody has reviewed it on Take My Repo yet, which says nothing about its quality. Read from GitHub on 2026-11-21.
Thanks for visiting my GitHub account!
GitHub is a developer platform that allows developers to create, store, manage and share their code. It uses Git software, providing the distributed version control of Git plus access control, bug tracking, software feature requests, task management, continuous integration, and wikis for every project. more
| Git & Github |
 |
cd ../…or create a new repository on the command line echo "# Laravel-restaurant" >> README.md git init git config --global --add safe.directory 'E:/Programming File/Cpp (++) Programming' (Optional) git add README.md git commit -m "first commit" git branch -M main git remote add origin https://github.com/learnwithfair/laravel-restaurant.git git push -u origin main …or push an existing repository from the command line git remote add origin https://github.com/learnwithfair/laravel-restaurant.git git branch -M main git push -u origin main ### If fetch any error then try as- git branch --set-upstream-to=origin/main main git pull origin main --allow-unrelated-histories git push -u origin main ########## to check brance -> git brance -a Change Brance git checkout branceName more details -> git cheat sheet #### In you want to push same code within multiple Repo git remote set-url --add --push origin {new_url} git remote -v git remote set-url --add --push origin {old_url} git remote -v
# Check commits containing the large file
git log --all -- largeFilename

# Soft reset last 1–2 commits (keeps changes staged)
git reset --soft HEAD~2

# Unstage the large file
git reset largeFilename

# Stage other changes and commit
git add .
git commit -m "Clean commit without large file"

# Pull latest remote changes
git pull origin main

# Force push cleaned branch
git push origin rahat --force
✅ Tips:
HEAD~2 with the number of commits containing the large file.git log --all -- source.zip to verify it’s gone.This guide explains how to install, configure, and use the GitHub CLI (gh) on Windows 11, including authentication and cloning private repositories.
The GitHub CLI (gh) lets you use GitHub features like:
It works directly from the command line or terminal inside VS Code.
.msi installer.Direct link: https://github.com/cli/cli/releases/latest
.msi file.Open Command Prompt or VS Code Terminal and run:
gh --version
You should see something like:
gh version 2.50.0 (2025-05-22)
Run the login command:
gh auth login
You’ll be prompted to:
HTTPSFollow the instructions → copy the URL → paste into browser → login with GitHub → authorize the CLI.
If successful, you’ll see:
✓ Logged in as learnwithfairYou can now clone any public or private repository (if you have access):
gh repo clone learnwithfair/Carento-customization
gh repo list
Example output:
learnwithfair/awesome-project           Public
learnwithfair/top-secret-project        Private
| Command | Description |
|---|---|
gh repo view |
View current repo info |
gh repo fork |
Fork a repository |
gh pr create |
Create a new pull request |
gh issue list |
List all issues in the current repo |
gh repo create |
Create a new GitHub repo from the CLI |
gh auth logout |
Logout from GitHub |
If you're a collaborator on a private repo, gh is the easiest way to clone and work with it — no need to handle tokens or SSH manually.
To uninstall:
You're now ready to manage GitHub from your terminal like a pro 🚀
for generating SSH Key: ssh-keygen -t ed25519 -C "your email goes here"cat ~/.ssh/id_ed255519.pubgit --version to find out whether git is installed or not. if git is installed it will return a version number of git.git configgit config --global user.name "anisul-islam"git config --global user.email "anisul2010s@yahoo.co.uk"git config --listgit config user.namegit config user.emailgit config --global user.name "PUT_NEW_USER_NAME_HERE"git config --global user.email "PUT_NEW_USER_EMAIL_HERE"ls -a : list all files inside of a directory
mkdir DIRECTORY_NAME_HERE
cd DIRECTORY_NAME_HERE
git init

Example:
mkdir notes
cd notes
git init
ls -a
git status : displays the state of the working directory and staging area
ls -a
touch fileName.extension
open fileName.extension
git status

Example:
touch day1.txt
open day1.txt
write something inside the file
Git is aware of the file but not added to our git repo
Files in git repo can have 2 states – tracked (git knows and added to git repo), untracked (file in the working directory, but not added to the local repository)
To make the file trackable stagging or adding is required
git add fileName add a file in staging area / indexgit add . add all files of directory to stagging area not subdirectorygit add -A add all files of directory and subdirectory to stagging areagit rm --cached fileName unstage a file from staging areagit diff - checking the differences of a staged filegit restore fileName - restore the filegit commit -m "message" move the file to local repository from stagging areagit log check the commit historygit reset --soft HEAD^ uncommit the commit in HEAD and move to staging areagit reset HEAD^ uncommit the commit in HEAD and move to unstaging / working areagit reset --hard HEAD^ uncommit the commit in HEAD and delete the commit completely with all the changes
git log --onelinegit showgit show HEAD^git show commit-idgit checkout commit-idgit checkout mastersecret.txt secret.txt will be ignored*.txt ignore all files with .txt extension!main.txt ignore all files with .txt extension without .main.txttest?.txt ignore all files like test1.txt test2.txttemp/ all the files in temp folders will be ignoredEverything you need to know about README.md is discussed in the video.
6 heading levels: number of hashes define heading levels. check the following examples:
# heading 1 level text is here## heading 2 level text is herebold syntax: **text goes here**
italic syntax: _text goes here_
bold and italic syntax: **_text goes here_**
strikethrouh syntax: ~~this is~~
single line code syntax: `` place code inside backticks
multiple line code syntax: ``` place code inside three open and closing backticks
multiple line code syntax language specific: ```html for specific lanaguage use language name when starting; not closing
Ordered List syntax
```
     1. HTML
      2. CSS

         1. Fundamental
         2. CSS Architecture - BEM
         3. CSS Preprocessor - SASS

      3. JS
```
Unordered List syntax ->
 - html
 - css
   - Fundamental
   - CSS Architecture - BEM
   - CSS Preprocessor - SASS
 - js
Task List
   - [x] Task1
   - [x] Task2
   - [x] Task3
adding link
   <!-- automatic link -->

   http://www.studywithanis.com

   <!-- markdown link syntax -->
   [title](link)
   [studywithanis](http://www.studywithanis.com)
   [studywithanis][websitelink]

   <!-- all link is here  -->

   [websitelink]: http://www.studywithanis.com
adding image syntax -> 
adding emoji
emoji src ### Smileys
😀 😃 😄 😁 😆 😅 😂 🤣 🥲 ☺️ 😊 😇 🙂 🙃 😉 😌 😍 🥰 😘 😗 😙 😚 😋 😛 😝 😜 🤪 🤨 🧐 🤓 😎 🥸 🤩 🥳 😏 😒 😞 😔 😟 😕 🙁 ☹️ 😣 😖 😫 😩 🥺 😢 😭 😤 😠 😡 🤬 🤯 😳 🥵 🥶 😱 😨 😰 😥 😓 🤗 🤔 🤭 🤫 🤥 😶 😐 😑 😬 🙄 😯 😦 😧 😮 😲 🥱 😴 🤤 😪 😵 🤐 🥴 🤢 🤮 🤧 😷 🤒 🤕 🤑 🤠 😈 👿 👹 👺 🤡 💩 👻 💀 ☠️ 👽 👾 🤖 🎃 😺 😸 😹 😻 😼 😽 🙀 😿 😾
### Gestures and Body Parts
👋 🤚 🖐 ✋ 🖖 👌 🤌 🤏 ✌️ 🤞 🤟 🤘 🤙 👈 👉 👆 🖕 👇 ☝️ 👍 👎 ✊ 👊 🤛 🤜 👏 🙌 👐 🤲 🤝 🙏 ✍️ 💅 🤳 💪 🦾 🦵 🦿 🦶      👣 👂 🦻 👃 🫀 🫁 🧠 🦷 🦴 👀 👁 👅 👄 💋 🩸
adding table
   table syntax
   | heading1 | heading2 |
   | ----- | ----- |
   | data1 | data2 |
   | data3 | data4 |
   | data5 | data6 |
git remote or git remote -vgit remote add name <REMOTE_URL> example: git remote add origin http://...git clone <REMOTE_URL>git push -u origin branch_namegit push --allgit pull which is equivalent to git fetch + git mergegit branch branch_namegit branchgit branch -rgit branch -agit checkout branch_namegit checkout -b branch_namegit branch -d branch_name git checkout branchName
git merge branchName
git log --oneline --all --graphIn GitHub, "tags" typically refer to Git tags. Git tags are a way to mark specific points in a Git repository's history as being important or significant. They are often used to label specific commits, such as releases or version numbers, to make it easier to reference those commits in the future.
Here's how Git tags work:
Creating a Tag: You can create a Git tag by running a command like git tag <tag-name>, where <tag-name> is the name you want to give to the tag. For example, you might create a tag for a release like this: git tag v1.0.0.
Tagging Commits: Tags are typically associated with specific commits. When you create a tag, it's linked to the current commit, but you can also specify a different commit if needed.
Listing Tags: You can list all the tags in a Git repository using the git tag command.
Annotated vs. Lightweight Tags: Git supports two types of tags: annotated and lightweight. Annotated tags are recommended for most use cases because they store extra metadata like the tagger's name, email, date, and a tagging message. Lightweight tags are just a name for a specific commit and don't include extra information.
Pushing Tags: By default, when you push changes to a remote Git repository, tags are not automatically pushed. You need to use git push --tags to push tags to a remote repository. This is important when you want to share tags, especially when creating releases on GitHub.
Using Tags on GitHub: On GitHub, you'll often see tags associated with releases. When you create a release on GitHub, it typically creates a Git tag behind the scenes to mark the specific commit associated with that release. Users can then download or reference that release by its tag name.
GitHub also has its own concept of "releases" that are closely related to Git tags. A release on GitHub is a way to package and distribute software versions, and it often corresponds to a Git tag. When you create a GitHub release, you can upload release assets (e.g., binaries, documentation) and provide release notes.
In summary, GitHub tags are essentially Git tags, and they are used to mark important points in a repository's history, often associated with releases or significant commits. They help users easily reference and work with specific versions of a project.
In Git, git revert is a command used to create a new commit that undoes the changes made by a previous commit. This command is helpful when you want to revert specific changes without altering the commit history.
learnwithfair/github-documentation is a public repo on GitHub by learnwithfair. github-documentation [learnwithfair, Learn with fair, Rahatul Rabbi, Md Rahatul Rabbi ,rahatulrabbi].
It declares no license on GitHub. Public does not mean open source: without a license, nobody is granted the right to reuse it.
Its maker has not tagged a system, so it is unknown here. Its README says what it needs.
Open "Take it" on its page: Take My Repo writes an install plan for your machine and hands it to your AI agent (Claude Code, Codex or Cursor), which asks you before each step. Take My Repo has not tested it on any machine.
Its last change on GitHub was on 2025-12-01. Take My Repo does not judge from that whether it is maintained.
Free domain registration and practical DNS learning resources for everyone.
Nobody has reviewed it on Take My Repo yet, which says nothing about its quality.
:octocat: 分享 GitHub 上有趣、入门级的开源项目。Share interesting, entry-level open source projects on GitHub.
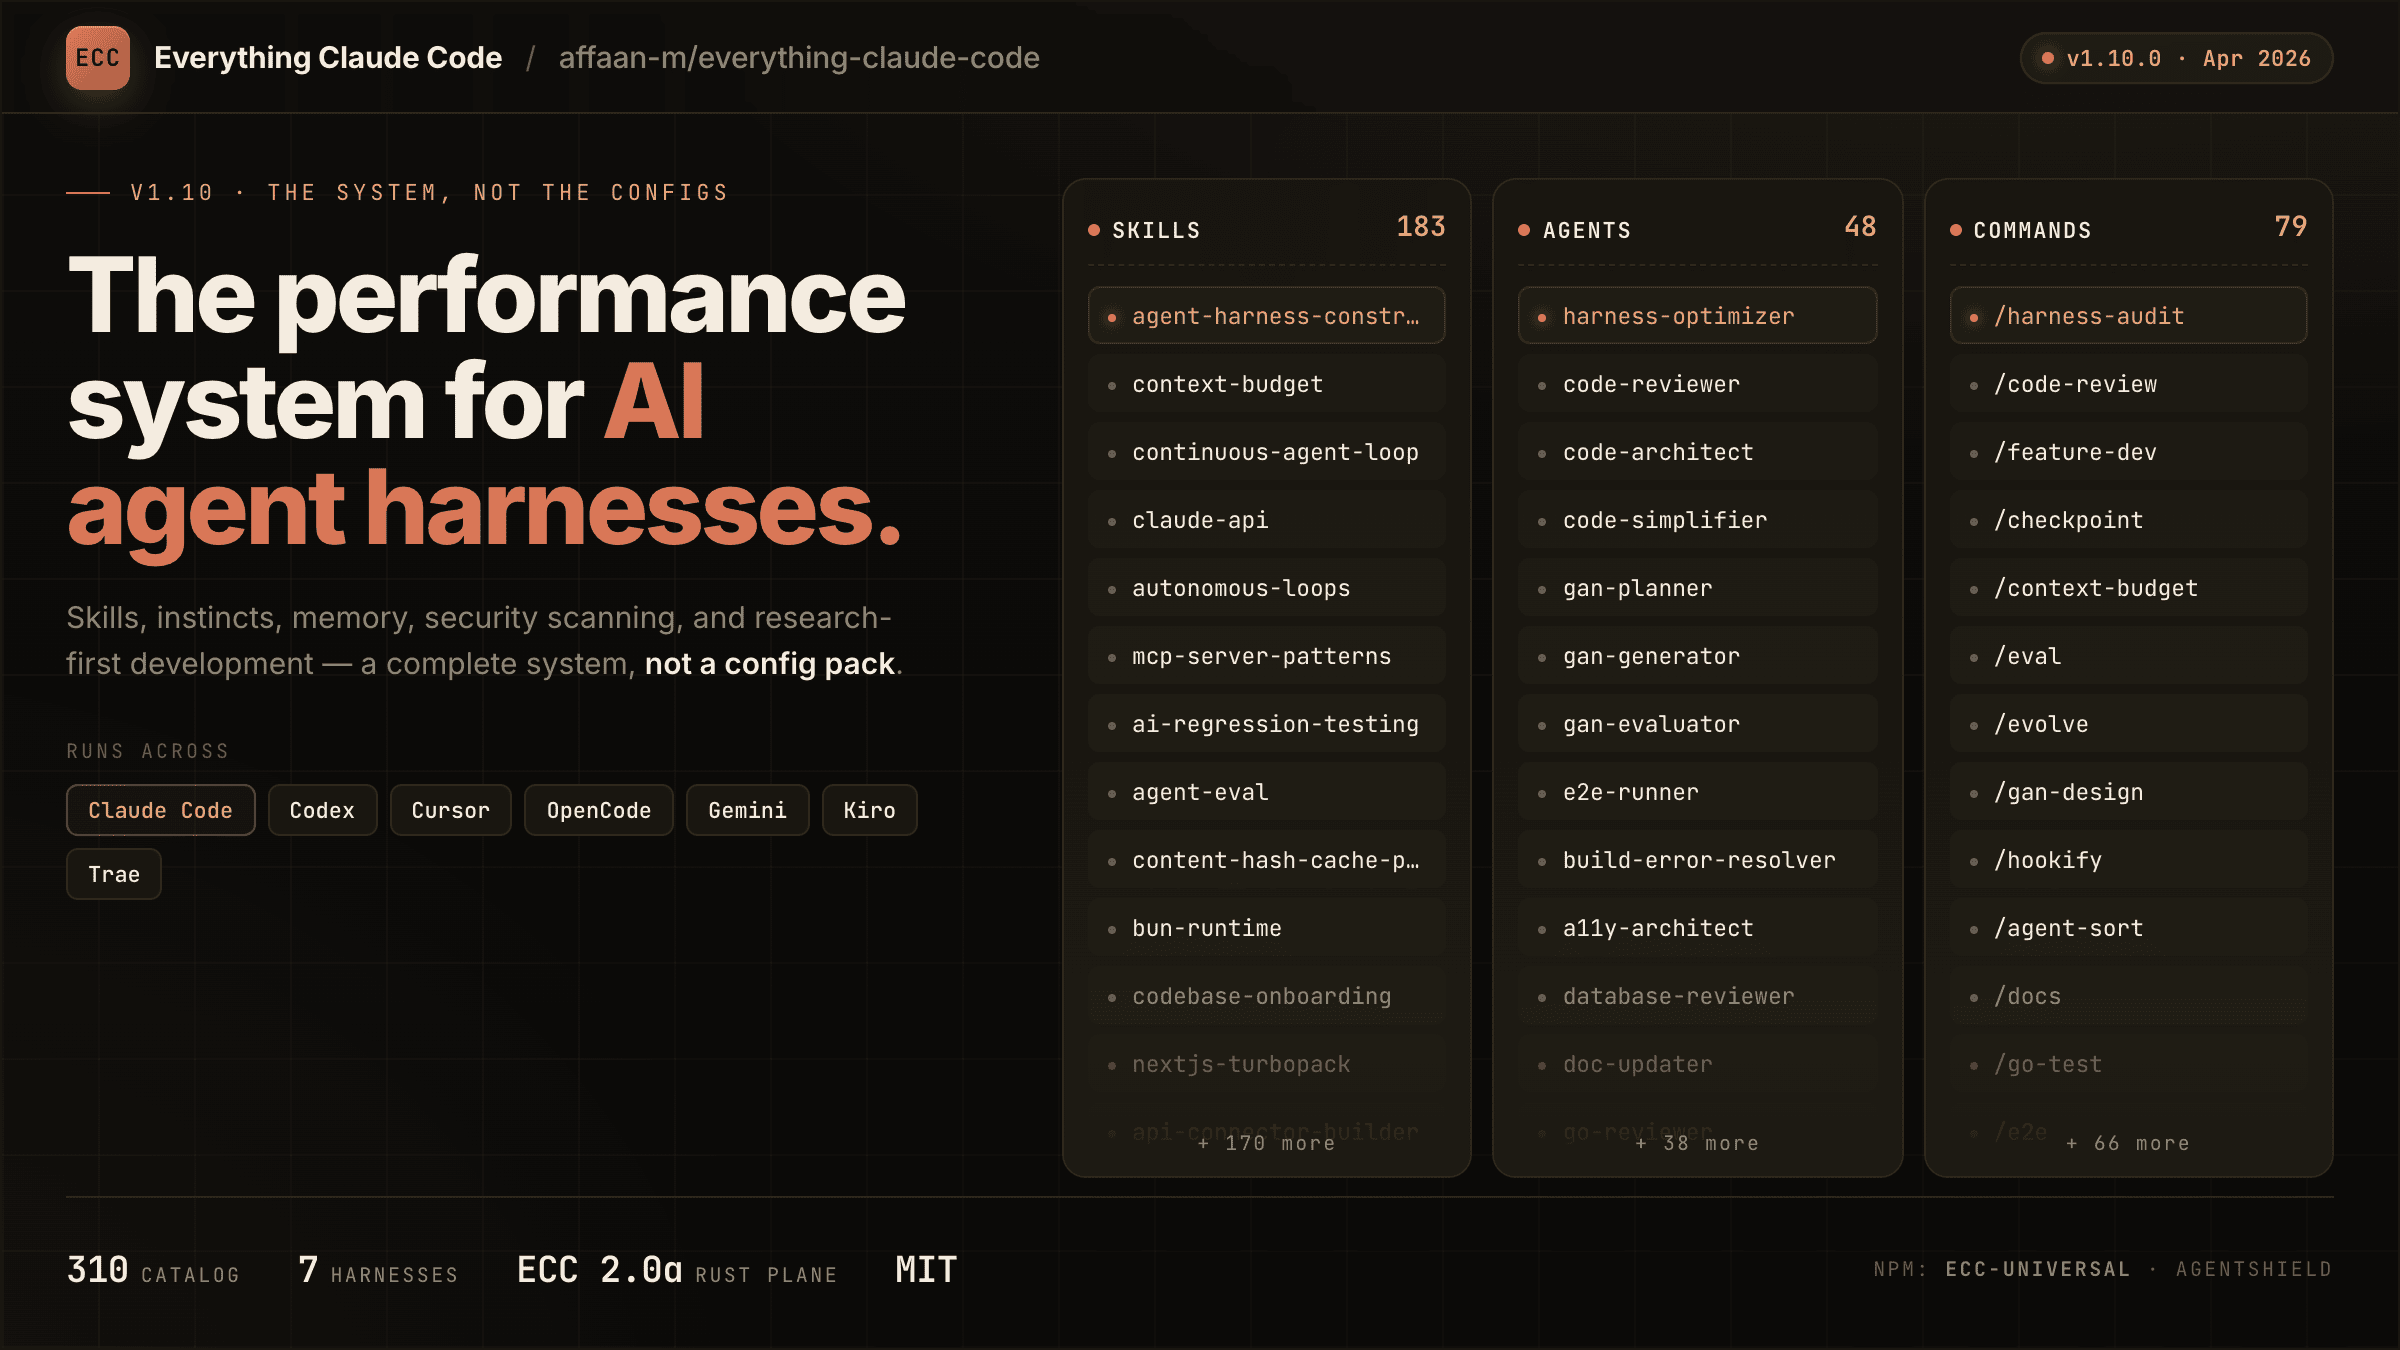
The agent harness performance optimization system. Skills, instincts, memory, security, and research-first development for Claude Code, Codex, Opencode, Cursor and beyond.
Reverse engineer anything with agents, from app behavior down to native binaries.
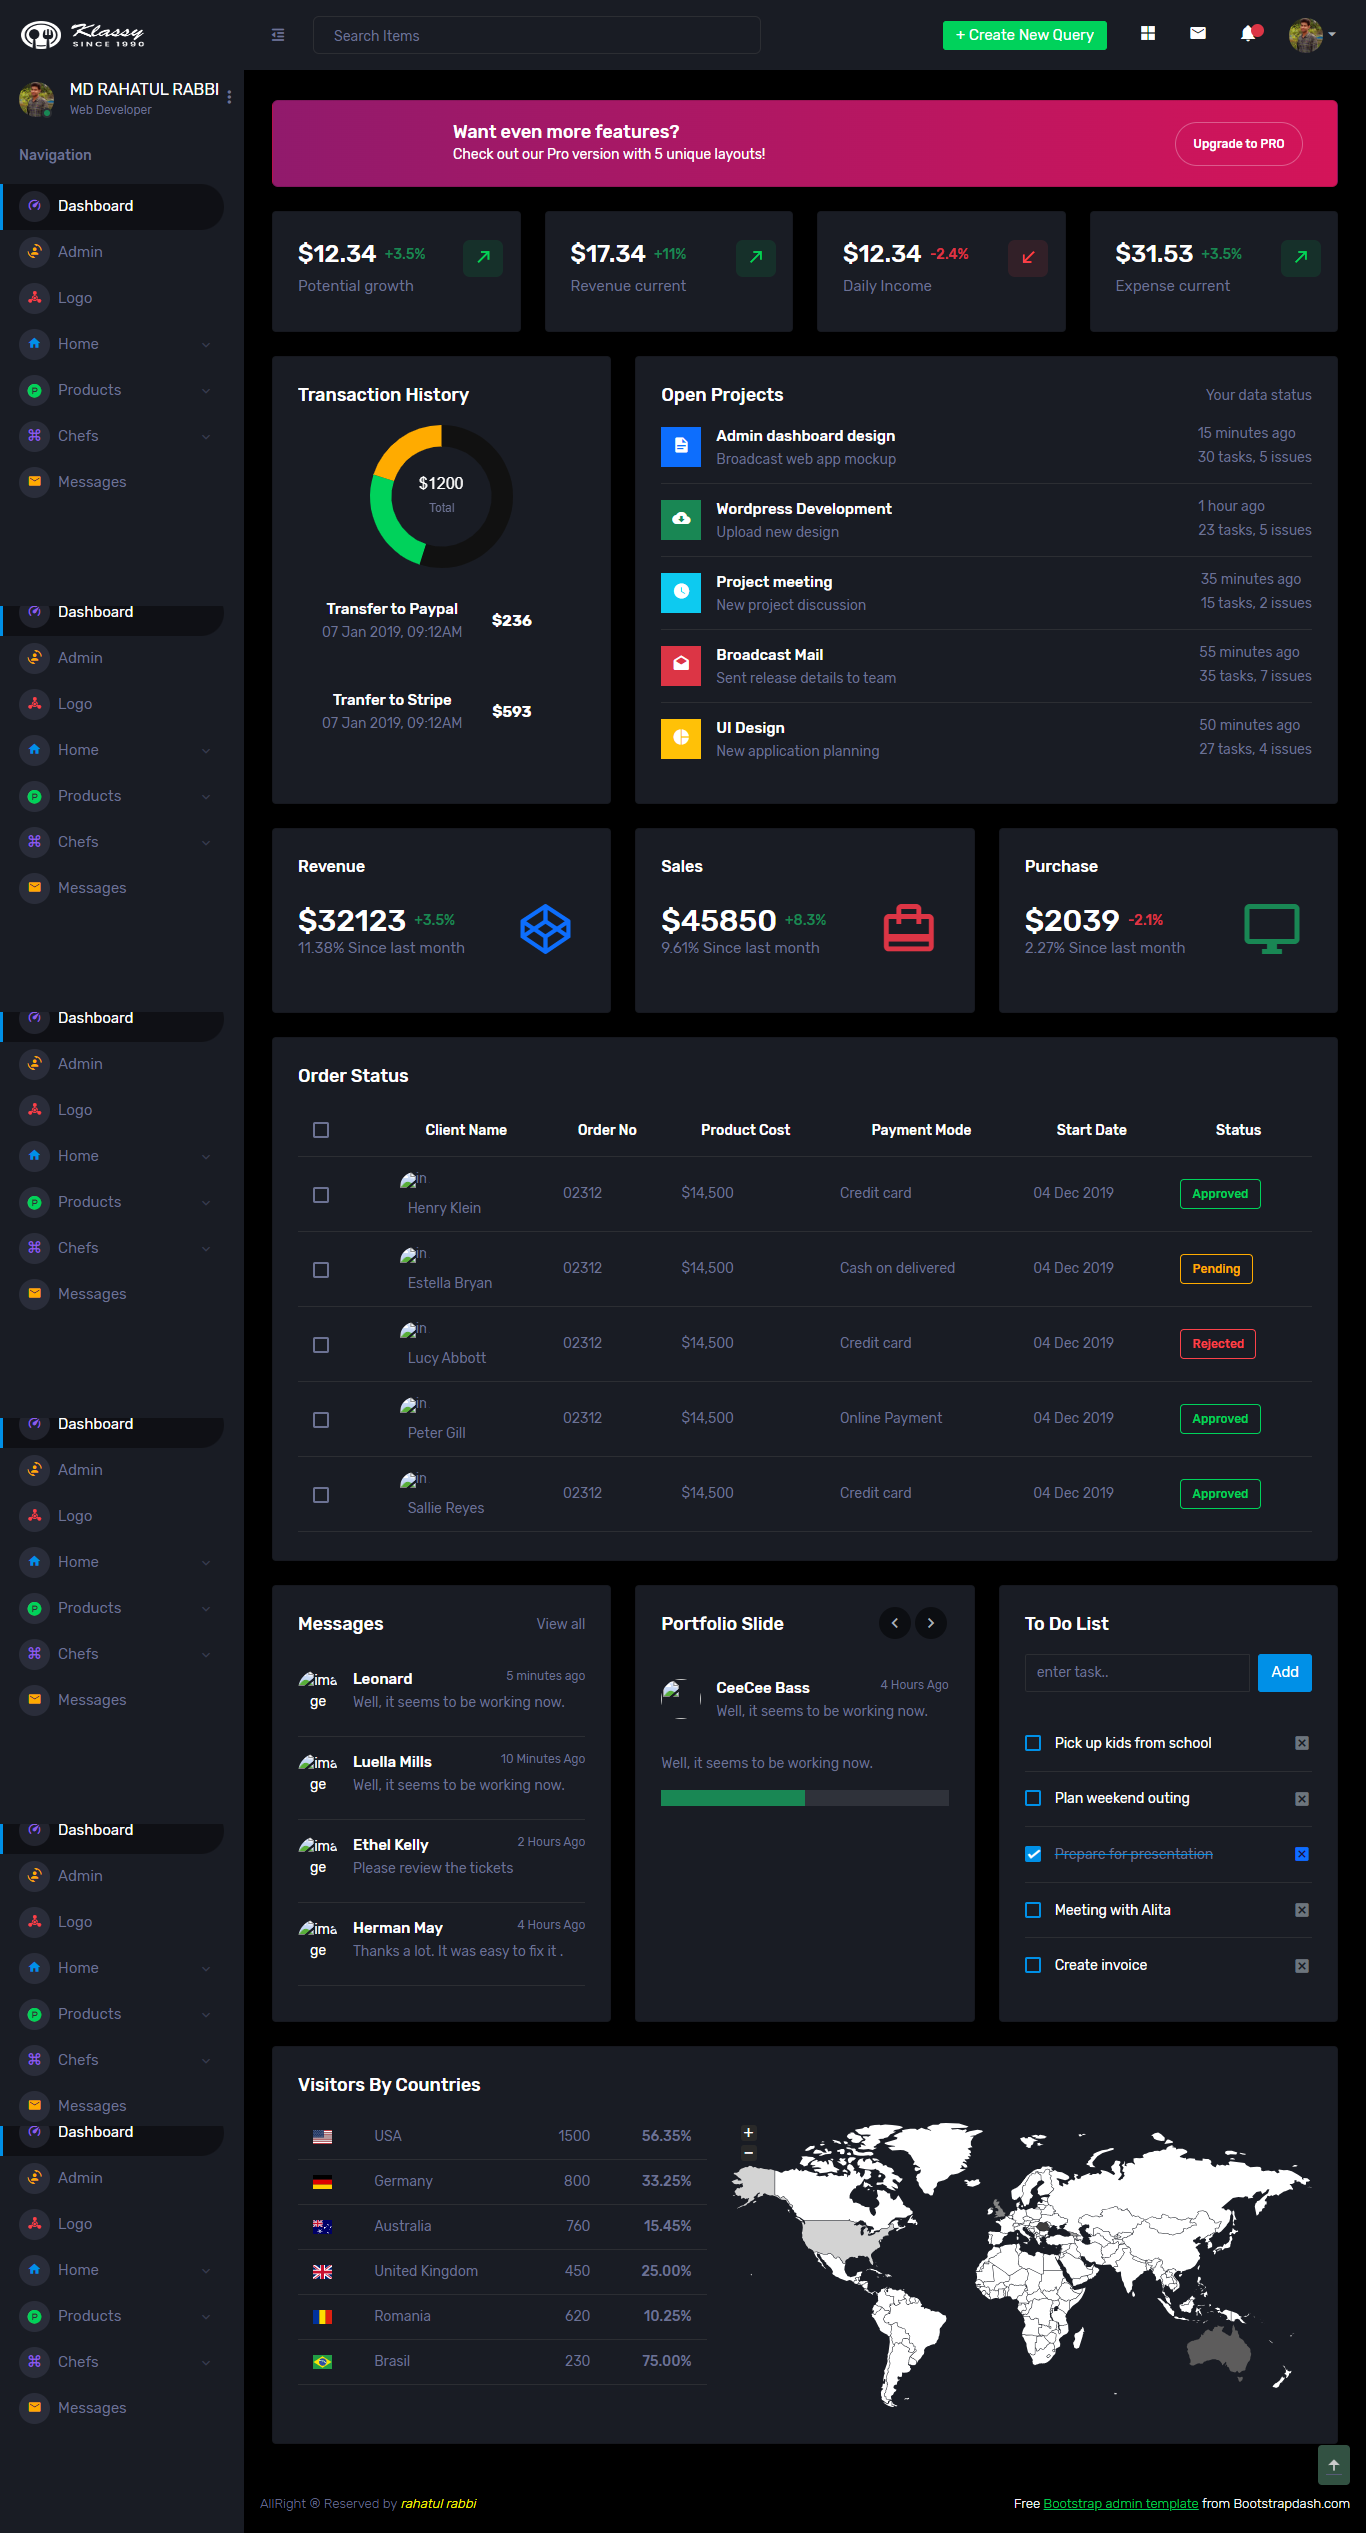
The Corona Dashboard is a comprehensive web application developed using HTML5, CSS3, Bootstrap, Tailwind CSS, JavaScript, jQuery, Ajax, React.js, PHP, Laravel, and MySQL, following the MVC Architecture
matlab instalation-doucmentation with [learnwithfair, Learn with fair, Rahatul Rabbi, Md Rahatul Rabbi ,rahatulrabbi]
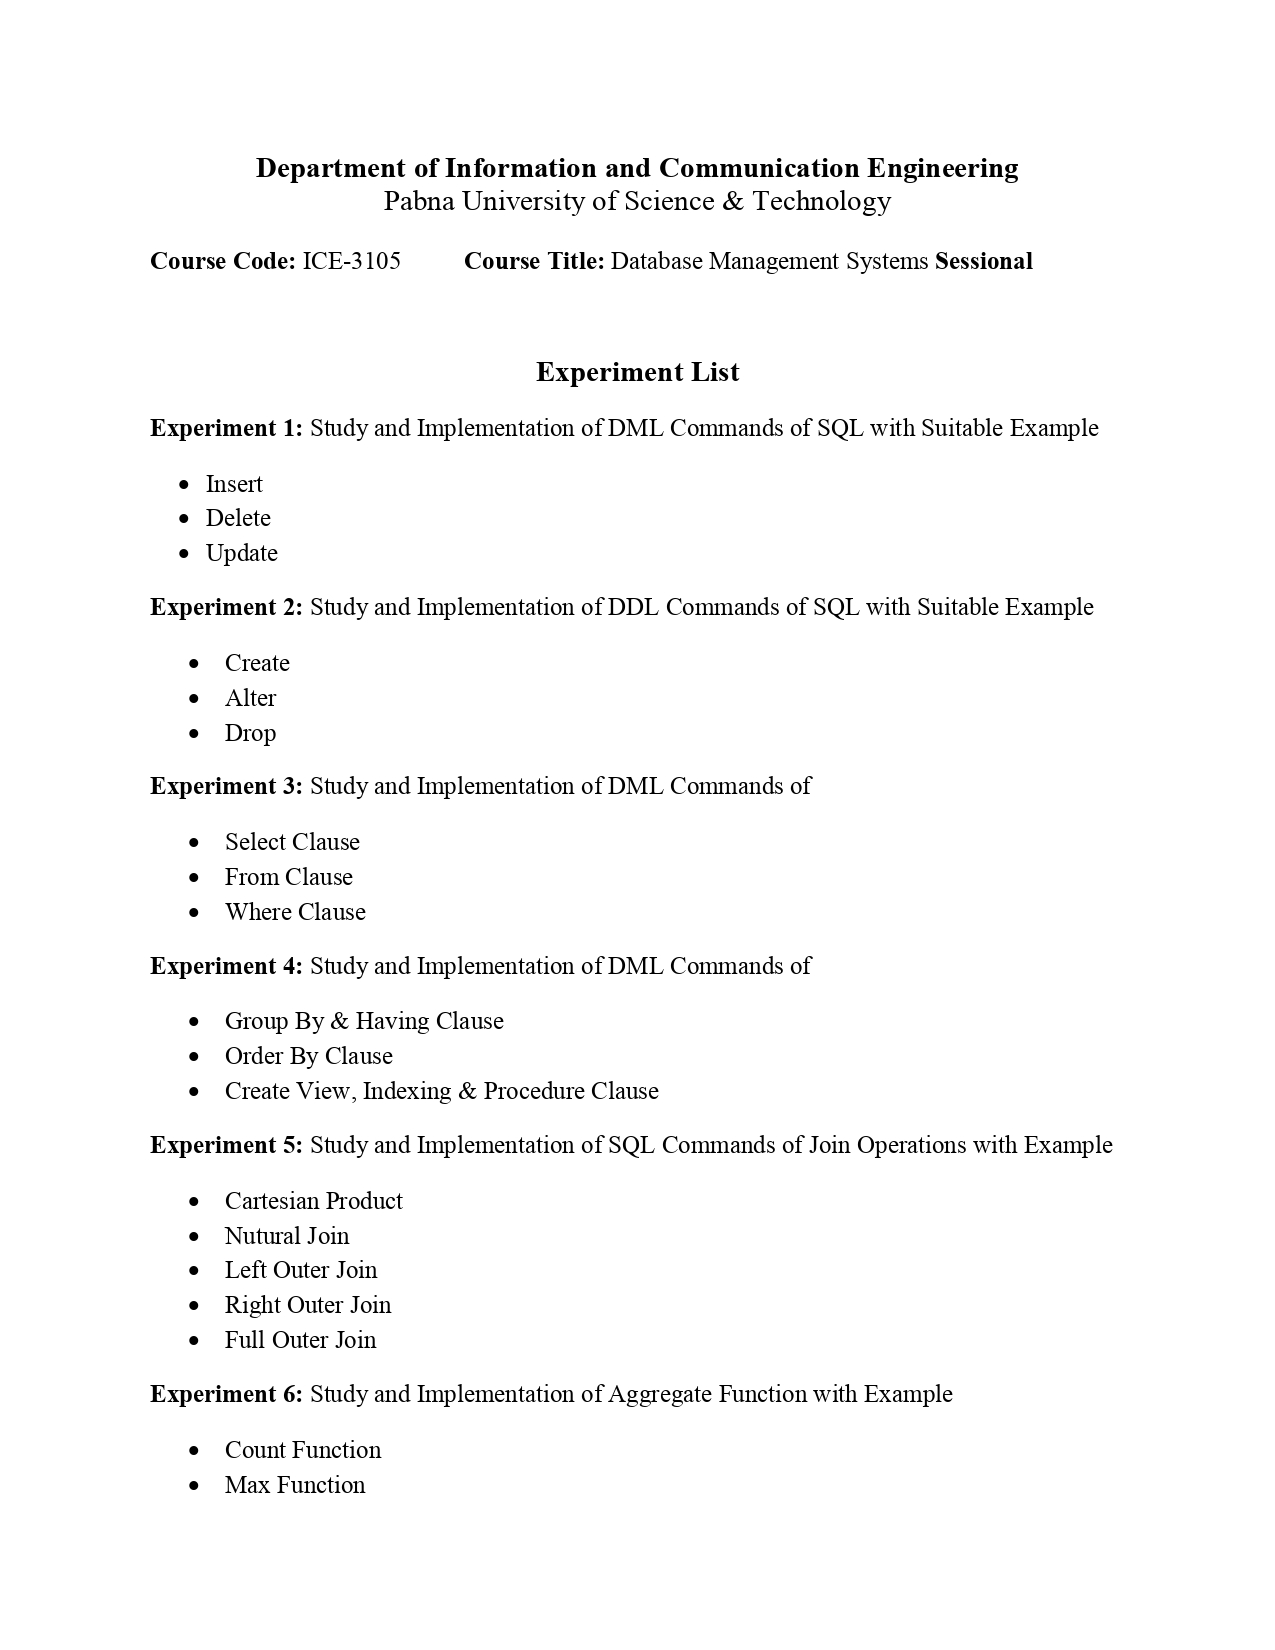
Database Management System (DBMS) with [learnwithfair, Learn with fair, Rahatul Rabbi, Md Rahatul Rabbi ,rahatulrabbi]
java (OOP) documentation with [learnwithfair, Learn with fair, Rahatul Rabbi, Md Rahatul Rabbi ,rahatulrabbi]
mern-ecommerce-electro-master [learnwithfair, Learn with fair, Rahatul Rabbi, Md Rahatul Rabbi ,rahatulrabbi]