
ML-For-Beginners
12 weeks, 26 lessons, 52 quizzes, classic Machine Learning for all
- 92k
- Jupyter Notebook
- MIT
- 2 wk ago
Teaching Python to high schoolers through statistics and simulation — from fancy calculator to GPU.
Repo statmike/teaching-python, read from GitHub 1 min ago. statmike has not joined Take My Repo.
statmike/teaching-python is a public repo on GitHub by statmike. Teaching Python to high schoolers through statistics and simulation — from fancy calculator to GPU. It declares the Apache-2.0 license on GitHub. It is written mainly in Jupyter Notebook, has 0 stars and last changed on 2026-09-04. Nobody has reviewed it on Take My Repo yet, which says nothing about its quality. Read from GitHub on 2026-11-20.
In the maintainer's words. Shown from GitHub; Take My Repo does not keep a copy.
Teaching Python to high schoolers through statistics and simulation.
One notebook — python-overview.ipynb — that starts at "Python is a fancy calculator" and,
using a single running example (flipping coins), builds up through variables, the core data
structures, showing your work, randomness, loops, and functions, then uses those to show why
results converge to a bell curve and how to make a simulation hundreds of times faster.
Just want to run it? → Run it on Colab, about two minutes. Going to teach from it? → Run it locally, then Teaching from it.
| Where | Open | Runs code? | GPU | You need |
|---|---|---|---|---|
| Google Colab | open | ✅ | ✅ free T4, already selected | a Google account |
| Colab Enterprise (Vertex AI) | open | ✅ | whatever its runtime template has | a GCP project with billing |
| Vertex AI Workbench | open | ✅ | whatever the instance has | a GCP project with billing |
| Your own computer | Run it locally | ✅ | your own card, if any | git + uv |
| GitHub | view | ❌ | — | nothing |
| nbviewer | view | ❌ | — | nothing |
Teaching a class, on a Windows laptop, or just trying it out? Use Colab — nothing to install, ~2 minutes to first run, and every laptop in the room gets the same machine. Teaching from it repeatedly, or working offline? Run it locally — about 10 minutes to set up once, then instant.
Plain Colab reads a github.com/.../blob/... path straight off the end of its own URL. The two
Vertex AI links instead import a copy of the .ipynb, so they take the
raw.githubusercontent.com URL — percent-encoded for Colab Enterprise, plain for Workbench. An
import is a snapshot: pull the link again to pick up changes, and note that Colab Enterprise
imports one notebook rather than cloning the repo, so !git clone in a cell is the way to get
the rest of it.
You cannot pin the GPU in the URL — there is no Colab query parameter for it. You pin it in the notebook, which is better, because it holds no matter how the file is opened. This notebook carries:
"accelerator": "GPU",
"colab": { "gpuType": "T4", "provenance": [] }
so Colab hands you a T4 without anyone visiting Runtime → Change runtime type. That step is easy to forget and, once you've run a cell, costly to fix — this removes it.
It is a request, not a guarantee. If free-tier GPUs are unavailable Colab offers to connect without one; take it, and the notebook runs CPU-only with the GPU section skipping itself cleanly. Trust the hardware report, not this table — the notebook prints what it actually got.
This affects Colab only. Colab Enterprise and Workbench take their hardware from the runtime or instance you attach, and ignore the metadata.
That's it — no runtime change needed. The notebook asks for a T4 in its own metadata, so Colab has already selected one (see About that T4). If Colab says it can't give you a GPU, connect without one; the GPU section skips itself and everything else runs.
Colab already ships the only three third-party packages the notebook imports
(numpy, matplotlib, jax) — everything else is the Python standard library. Colab's JAX is
already matched to the T4's CUDA build.
⚠️ Don't
pip installjaxorjaxlibon Colab. The PyPI wheels are CPU-only and will quietly overwrite Colab's CUDA-enabled build, dropping the GPU section back to the CPU.
Colab is also the practical answer for a Windows machine with an NVIDIA card — see Will I get a GPU? for why.
You'll need: a terminal, an internet connection, and about 1 GB of free disk (more if you add GPU support). You do not need Python installed — uv fetches the right version (3.13) for you.
Five steps: get the files, install uv, install the project, register the kernel, open the notebook. Each ends with a check — don't move on until it passes. If one fails, see Troubleshooting.
Going to use WSL2 for an NVIDIA GPU on Windows? Don't run these steps on Windows first. All five have to happen inside Ubuntu, in their own clone — jump to Windows + NVIDIA and follow that instead.
Already have git and uv? The whole thing is:
git clone https://github.com/statmike/teaching-python.git
cd teaching-python
uv sync && uv run task kernel && uv run --with jupyterlab jupyter lab
The notebook lives on GitHub, so the first job is getting a copy onto your machine. That needs git:
git --version
winget install --id Git.Git -e, then open a new terminal (same PATH trap
as uv, below). Or run the installer from git-scm.com and
accept every default.git --version itself offers to install Apple's command line tools.
Accept, wait for it, then run it again.sudo apt install git on Debian/Ubuntu, or your distribution's equivalent.Then clone the repo and move into it:
git clone https://github.com/statmike/teaching-python.git
cd teaching-python
That makes a teaching-python folder wherever you ran it — your home folder is a fine place.
Every command from here on runs from inside that folder. Later, git pull in it gets you
the newest version of the notebook.
No git, and don't want it? Download the ZIP, unpack it, and
cdinto the unpacked folder. Everything else is identical — you just have to fetch a new ZIP by hand to get updates.
✓ Check: ls (macOS/Linux) or dir (Windows) lists python-overview.ipynb.
uvuv manages the Python version and every package for this project.
uv --version
Prints a version? Skip to Step 3. Says "command not found" or "not recognized"? Install it from your section below.
The one thing that trips everyone up. The installer adds a folder to your PATH — but a terminal that is already running never sees a PATH change, so the window you installed from will keep saying uv doesn't exist. After installing, either open a new terminal, or patch the one you're in. Both commands are in your section below.
In PowerShell:
powershell -ExecutionPolicy ByPass -c "irm https://astral.sh/uv/install.ps1 | iex"
That puts uv.exe in %USERPROFILE%\.local\bin. Then:
# Either: close PowerShell and open a new window.
# Or: patch the window you're in (this session only).
$env:Path = "$env:USERPROFILE\.local\bin;$env:Path"
In cmd.exe instead of PowerShell, the patch line is:
set PATH=%USERPROFILE%\.local\bin;%PATH%
✓ Check: uv --version prints a version.
curl -LsSf https://astral.sh/uv/install.sh | sh(No curl? Use wget -qO- https://astral.sh/uv/install.sh | sh.)
That puts uv in ~/.local/bin. Then:
# Either: close the terminal and open a new one.
# Or: source the small script the installer just wrote, in the shell you're in.
source $HOME/.local/bin/env          # bash, zsh, sh
source $HOME/.local/bin/env.fish # fish
That env file is written by the uv installer; all it does is prepend ~/.local/bin to your
PATH if it isn't there already. Sourcing it affects only the current terminal — every new
terminal picks up the PATH from your shell profile, which the installer already edited.
✓ Check: uv --version prints a version.
From inside the teaching-python/ folder you cloned in Step 1:
uv sync
This creates .venv/, downloads Python 3.13 if you don't have it, and installs everything
pinned in uv.lock — including ipykernel, which is what lets Jupyter and VS Code attach to
this environment. About 700 MB, a minute or two on a decent connection.
The default install is CPU-only and runs the whole notebook; the GPU section notices there's no GPU and skips itself. Adding GPU support later is one more command and changes nothing else — see Will I get a GPU?.
✓ Check:
uv run python -c "import numpy, matplotlib, jax; print('ok', jax.__version__)"
This makes the project's environment selectable inside Jupyter or VS Code as Python (teach):
uv run task kernel
✓ Check: uv run jupyter kernelspec list includes teach.
Run the underlying command directly — this exact form works in PowerShell, cmd, and any Unix
shell:
uv run python -m ipykernel install --user --name teach --display-name "Python (teach)"
Double quotes, not single. On Windows the command runs through cmd.exe, where ' is not a
quote character and ( ) are special — a single-quoted display name gets torn apart and
produces a syntax error. (This bug was in this repo's task definition; it's fixed, but you may
hit it writing your own.)
No module named ipykernel means Step 3 ran without its dev group. uv sync includes the dev
group by default, so this only happens if --no-dev or --no-default-groups was passed —
re-run plain uv sync.
Two ways in, and you only need one. Both run the same notebook on the same Python (teach) kernel you just registered — the only difference is where it appears.
| A · VS Code | B · JupyterLab | |
|---|---|---|
| Pick this if | you already use VS Code | you'd rather not install an editor |
| Extra download | the Python + Jupyter extensions | ~100 MB, cached after the first run |
| It opens in | VS Code | your browser |
| Terminal | nothing left running | one window stays running |
teaching-python folder — File → Open Folder, or type code . in the terminal
you're already in.python-overview.ipynb.Nothing to run in the terminal — VS Code starts the kernel itself.
Python (teach) not in the list? Try Select Another Kernel → Jupyter Kernel. Still missing, reload the window: Ctrl+Shift+P → Developer: Reload Window. VS Code caches the kernel list and won't notice Step 4 until it re-reads it.
uv run --with jupyterlab jupyter lab
That prints a http://localhost:8888/... link and usually opens it for you. Click
python-overview.ipynb in the file list on the left, and pick Python (teach) if asked.
Leave that terminal open — it is the notebook server, and closing it stops the notebook. Ctrl-C twice in it when you're done.
--with jupyterlablayers JupyterLab on top of this project for the length of that one command. It downloads about 100 MB the first time and is cached after that. It's kept out ofuv syncbecause VS Code and Colab users don't need it.
✓ Final check: Run All, top to bottom, then read the hardware report. It is printed by
the cell headed PLUMBING - SCAFFOLDING FOR THE RACE, at the start of the Make Iterations Faster
section — not by the Setup - Run This First cell at the top, which only loads libraries.
Environment: Windows (AMD64)
CPU: Intel64 Family 6 Model 183 Stepping 1, GenuineIntel, 32 logical CPUs
JAX 0.10.2 ready.
GPU: NVIDIA GeForce RTX 4090, 24564 MiB is installed, but JAX cannot use it on native Windows.
     (JAX ships CUDA support for Linux only - see the readme for WSL2
      or Google Colab. The race runs CPU-only; the GPU section skips.)
That's your ground truth: whatever it says about your GPU is what the notebook will actually do.
Run the whole thing once before teaching from it — the performance scoreboard is cumulative, and later cells reuse timings measured earlier.
The notebook is 367 cells and executes in under two minutes, but nobody talks through 367 cells
in one sitting. It is built to be cut. Each ## section carries a pacing note telling you how
long it takes live and whether it can go, and the notebook's top cell has the same thing as a
table.
The short version:
| Section | 60 min | 90 min |
|---|---|---|
| Setup | run | run |
| Calculator · Evaluate | run | run |
| With A Flexible Memory | Lists + Dicts only | Lists + Dicts only |
| That Can Show Its Work | run | run |
| Random Values | required | required |
| Loops · Functions | run / skim | run |
| Repetition As Understanding | first subsection only | run |
| Repetition With A Goal | required | required |
| Make Iterations Faster | run — this is the point | run |
| Bonus: Binary | skip | skim |
| The closing four sections | run | run |
Only two sections are load-bearing. Random Values imports random; Repetition With A
Goal sets n_simulations and the baseline time every later speedup is measured against. Cut
either and the speed arc fails. Everything else is safe to drop — including the 141-cell data
structures section, which is 38% of the notebook, runs in one second, and is reference material.
Hand it out as take-home.
Every "skip" in that table was tested by actually deleting those cells and re-running the notebook to confirm it stays clean.
Not every cell is a lesson. Some draw a chart or run a stopwatch using Python the notebook never teaches, and reading them aloud costs you minutes and teaches nothing. Three markers on the first comment line say which is which:
| Marker | In class |
|---|---|
# CHART |
put the picture up, move on — don't walk the plotting code |
# PLUMBING |
timing, hardware, experiment setup — read the output |
# GOTCHA: |
a trap sprung on purpose — slow down, this one is the lesson |
Run the marked cells regardless. Later cells use the numbers and tools they produce; you just never have to explain how. Everywhere else, the code is the lesson. The notebook's top cell says the same thing to students.
The performance section measures your machine, so its numbers won't match anyone else's — and in a couple of places its conclusions legitimately differ too. That's deliberate, and worth knowing before you teach it.
| It adapts to | How, and why it matters |
|---|---|
| Core count | Reports logical CPUs, physical cores, and how many this process may use — three numbers that disagree on most modern chips. A Core i9 with P-cores and E-cores can be 16 physical cores reporting 32 logical CPUs. The notebook explains all three instead of calling them all "cores". |
fork vs spawn |
Linux uses fork; macOS and Windows use spawn, which restarts Python and re-imports NumPy in every worker. The notebook measures that hiring cost rather than estimating it. |
| Whether parallel wins | With many cores and spawn, hiring overhead can exceed the whole job and the parallel approach comes out slower than single-core NumPy. The notebook prints a verdict computed from your own timings; either outcome supports the section's point — optimize first, parallelize second. |
| Workload sizes | Side experiments size themselves from your measured baseline, so they take a few seconds whether you're on a laptop or a 32-core desktop. |
| GPU | Detected via JAX; if JAX finds nothing, the notebook asks nvidia-smi separately so it can say "you have a card, JAX can't reach it" instead of "no GPU found". |
The notebook runs end to end with or without one — the GPU section skips itself cleanly. But "I own a GPU" and "JAX can use my GPU" are different sentences, and the gap between them is where people lose an afternoon.
| Your machine | Notebook | GPU section | What to do |
|---|---|---|---|
| Windows x64 + NVIDIA | ✅ | ❌ not locally | JAX has no native-Windows CUDA build, at any version. Use Colab or WSL2 — unfold Windows + NVIDIA below |
| Windows x64, no GPU | ✅ | ⏭️ skips | Nothing — every other approach still runs |
| Linux x86_64 + NVIDIA | ✅ | ✅ | uv sync --extra gpu-nvidia |
| Linux, other | ✅ | ⏭️ skips | Nothing. (arm64 + NVIDIA may work; untested) |
| macOS, Apple Silicon | ✅ | ✅ | uv sync --extra gpu-apple — macOS 14+ |
| macOS, Intel | ❌ | — | Not supported: JAX 0.10 publishes no Intel-Mac wheels. Use Colab |
| Linux + AMD | ✅ | ⚠️ untested | uv sync --extra gpu-amd — needs a system-wide ROCm 7 toolkit |
| Google Colab + T4 | ✅ | ✅ | Nothing to install; the T4 is already selected |
The notebook code is identical in every case — it auto-detects whatever accelerator is there and lights up the GPU section only when it finds one.
You can have a brand-new RTX 4090 and JAX will not see it. This is not a driver problem, a detection bug, or something you configured wrong.
JAX ships as two packages. jaxlib (the CPU engine) publishes a win_amd64 wheel — that's why
JAX works on Windows at all. jax-cuda12-plugin (the CUDA engine) publishes manylinux wheels
and nothing else. There is no Windows build of it in existence, so there is nothing you can
install to fix this.
Worse, it fails silently:
uv sync --extra gpu-nvidia # on Windows: installs nothing, warns about nothing
The extra is marked sys_platform == 'linux', so uv correctly skips it and reports success.
You'd reasonably conclude you now have GPU support. You don't. That's why the notebook asks
nvidia-smi about your card directly and tells you the card exists but JAX can't reach it.
Option A — Google Colab (recommended, ~2 minutes). Open it in Colab and run all. A real CUDA GPU, nothing to install, and the T4 is already selected for you. For a room of Windows laptops this is the only sane option.
Option B — WSL2 (Windows Subsystem for Linux), ~30 minutes. Runs a real Ubuntu inside Windows; JAX's Linux CUDA build works there against your existing Windows NVIDIA driver.
Ubuntu is a separate computer that happens to live inside Windows. Nothing installed on the Windows side — not git, not uv, not the project folder — carries across. You install everything a second time, inside Ubuntu. That feels wasteful and is correct.
If you already cloned and ran
uv syncon Windows, leave that folder exactly where it is. You are about to make a second, independent clone inside Linux. Do not copy the Windows one across (step 5 explains why).
1 · Install WSL — from an Administrator PowerShell
Right-click the Start button → Terminal (Admin) (or Windows PowerShell (Admin)), and answer yes to the UAC prompt.
wsl --install⚠️ It has to be an Administrator terminal. Anything else — a normal PowerShell, or the terminal built into VS Code — starts the install, gets partway, and stops without finishing and without clearly saying why. If
wsl --installseems to do nothing much, this is why.
Reboot when it asks.
2 · Let Ubuntu finish, and create your Linux user
After the reboot Ubuntu completes its own setup and asks you to create a username and
password. These are brand new and have nothing to do with your Windows login. The password is
what sudo will ask for later, there's no recovery for it, and the screen shows nothing while
you type it — that's normal, keep going.
A few things appear around this point, and it's not obvious they're all the same Ubuntu:
Use whichever terminal you like — there is no difference. If that welcome page offers the VS Code WSL extension, take it; step 7 uses it.
3 · Check the GPU is visible from inside Ubuntu
nvidia-smi
Keep your normal Windows NVIDIA driver, and do not install a Linux GPU driver inside WSL — the Windows driver already exposes the card, and a second one breaks it. Nothing listed? Update the Windows driver and reboot.
4 · Install git and uv, inside Ubuntu
sudo apt update && sudo apt install -y git
curl -LsSf https://astral.sh/uv/install.sh | sh
source $HOME/.local/bin/env
uv --version
uv --version must print something before you continue. uv: command not found here is the
same PATH trap as on Windows — the installer put uv somewhere this already-open shell doesn't
know about yet. Re-run the source line in the window you're actually typing in, or open a new
Ubuntu terminal.
5 · Clone a fresh copy into the Linux filesystem
cd ~
git clone https://github.com/statmike/teaching-python.git
cd teaching-python
Don't copy your Windows folder over, and don't work from
/mnt/c. Your Windows drives show up inside Ubuntu at/mnt/c, so it looks like you cancdstraight there and carry on. Two reasons not to: every file access crosses the Windows/Linux boundary and is dramatically slower, and that folder already contains a.venv/full of Windows executables Linux cannot run.~is Ubuntu's own home directory, and a fresh clone there has none of that baggage. Disk is cheap; two clones is the easy answer.Already copied it?
rm -rf .venvand re-run step 6 — uv rebuilds it for Linux.
6 · Install with the GPU extra and register the kernel
uv sync --extra gpu-nvidia
uv run task kernel
7 · Open the notebook
The same two paths as Step 5, each with one WSL wrinkle:
code .uv run --with jupyterlab jupyter lab
http://localhost:8888/... link; it opens in your Windows browser.The scaffolding cell should now name your card under GPU:, and the GPU section will run.
uv sync --extra gpu-nvidia
Adds ~4.5 GB of CUDA libraries. JAX ships its own, so you need only a working NVIDIA driver, not
a system CUDA toolkit — check with nvidia-smi.
If the scaffolding cell says "is installed, but JAX's CUDA build is not", this sync is the step you're missing.
uv sync --extra gpu-apple
Uses the jax-mps Metal plugin. Requires macOS 14 or newer — the only wheels published are
macosx_14_0_arm64. Keeping it out of the defaults is what lets macOS 11–13 install the notebook
at all.
| Symptom | Cause | Fix |
|---|---|---|
git: command not found / not recognized |
git isn't installed | Step 1's install box, or skip git and download the ZIP |
uv: command not found / not recognized, right after installing |
The terminal was already open when PATH changed | Open a new one, or source $HOME/.local/bin/env (macOS/Linux) / the $env:Path line (Windows) |
wsl --install runs but never finishes |
Not an elevated terminal — a normal PowerShell or the VS Code terminal stalls partway, quietly | Right-click Start → Terminal (Admin), run it again |
uv: command not found inside Ubuntu, just after installing it |
Same PATH trap, new operating system | source $HOME/.local/bin/env, or open a fresh Ubuntu terminal |
| Inside WSL, uv is very slow or misbehaves in the project folder | You're working under /mnt/c — that's the Windows disk seen from Linux, and its .venv/ holds Windows binaries |
cd ~ and clone a fresh copy there. If you copied the folder, rm -rf .venv first |
No module named ipykernel |
Synced without the dev group | Re-run plain uv sync |
uv run task kernel fails on Windows with a syntax error |
Single quotes around a name containing ( ) in cmd.exe |
Run the ipykernel install command directly, with double quotes |
| Python (teach) kernel isn't offered | Not registered, or the editor predates it | uv run task kernel, then reload the window |
GPU: none found, but you have an NVIDIA card on Windows |
No native-Windows CUDA JAX exists | See Will I get a GPU? |
GPU: ... is installed, but JAX's CUDA build is not (Linux) |
Synced without the extra | uv sync --extra gpu-nvidia |
git pull reports a conflict in python-overview.ipynb |
You ran the notebook, so your saved outputs differ from the committed ones | git checkout python-overview.ipynb to discard your run, then pull again. (Nothing is lost — re-running regenerates it) |
A cell fails with a NameError about a timing variable |
Cells were run out of order | Run All, top to bottom |
| The parallel section is slower than the vectorized one | A real result on a many-core spawn machine |
Nothing to fix — the notebook explains it and the lesson still lands |
| Timings differ a lot between runs | Shared or busy machine | Expected. The side experiments use best-of-N; the headline timings are single-shot on purpose |
| File | |
|---|---|
python-overview.ipynb |
the notebook — everything is in here |
pyproject.toml |
dependencies, the GPU extras, and the kernel task |
uv.lock |
exact pinned versions; the committed source of truth |
.python-version |
pins Python 3.13, which uv installs for you |
coin_worker.py |
generated by the notebook for the parallel section; git-ignored |
.gitignore |
keeps the generated file, .venv/ and caches out of git |
LICENSE |
Apache License 2.0 |
Task shortcuts live under [tool.taskipy.tasks] and run as uv run task <name>:
| Task | What it does |
|---|---|
kernel |
Registers the uv environment as a Jupyter kernel named Python (teach) |
There are no requirements.txt files to generate or keep in sync — uv manages everything from
uv.lock.
Apache License 2.0. Use it, fork it, teach from it, change it — commercially or not. Keep the notice and state what you changed.
statmike/teaching-python is a public repo on GitHub by statmike. Teaching Python to high schoolers through statistics and simulation — from fancy calculator to GPU.
It declares the Apache-2.0 license on GitHub.
Its maker has not tagged a system, so it is unknown here. Its README says what it needs.
Open "Take it" on its page: Take My Repo writes an install plan for your machine and hands it to your AI agent (Claude Code, Codex or Cursor), which asks you before each step. Take My Repo has not tested it on any machine.
Its last change on GitHub was on 2026-09-04. Take My Repo does not judge from that whether it is maintained.
Nobody has reviewed it on Take My Repo yet, which says nothing about its quality.
12 weeks, 26 lessons, 52 quizzes, classic Machine Learning for all
freeCodeCamp.org's open-source codebase and curriculum. Learn math, programming, and computer science for free.

Tensors and Dynamic neural networks in Python with strong GPU acceleration
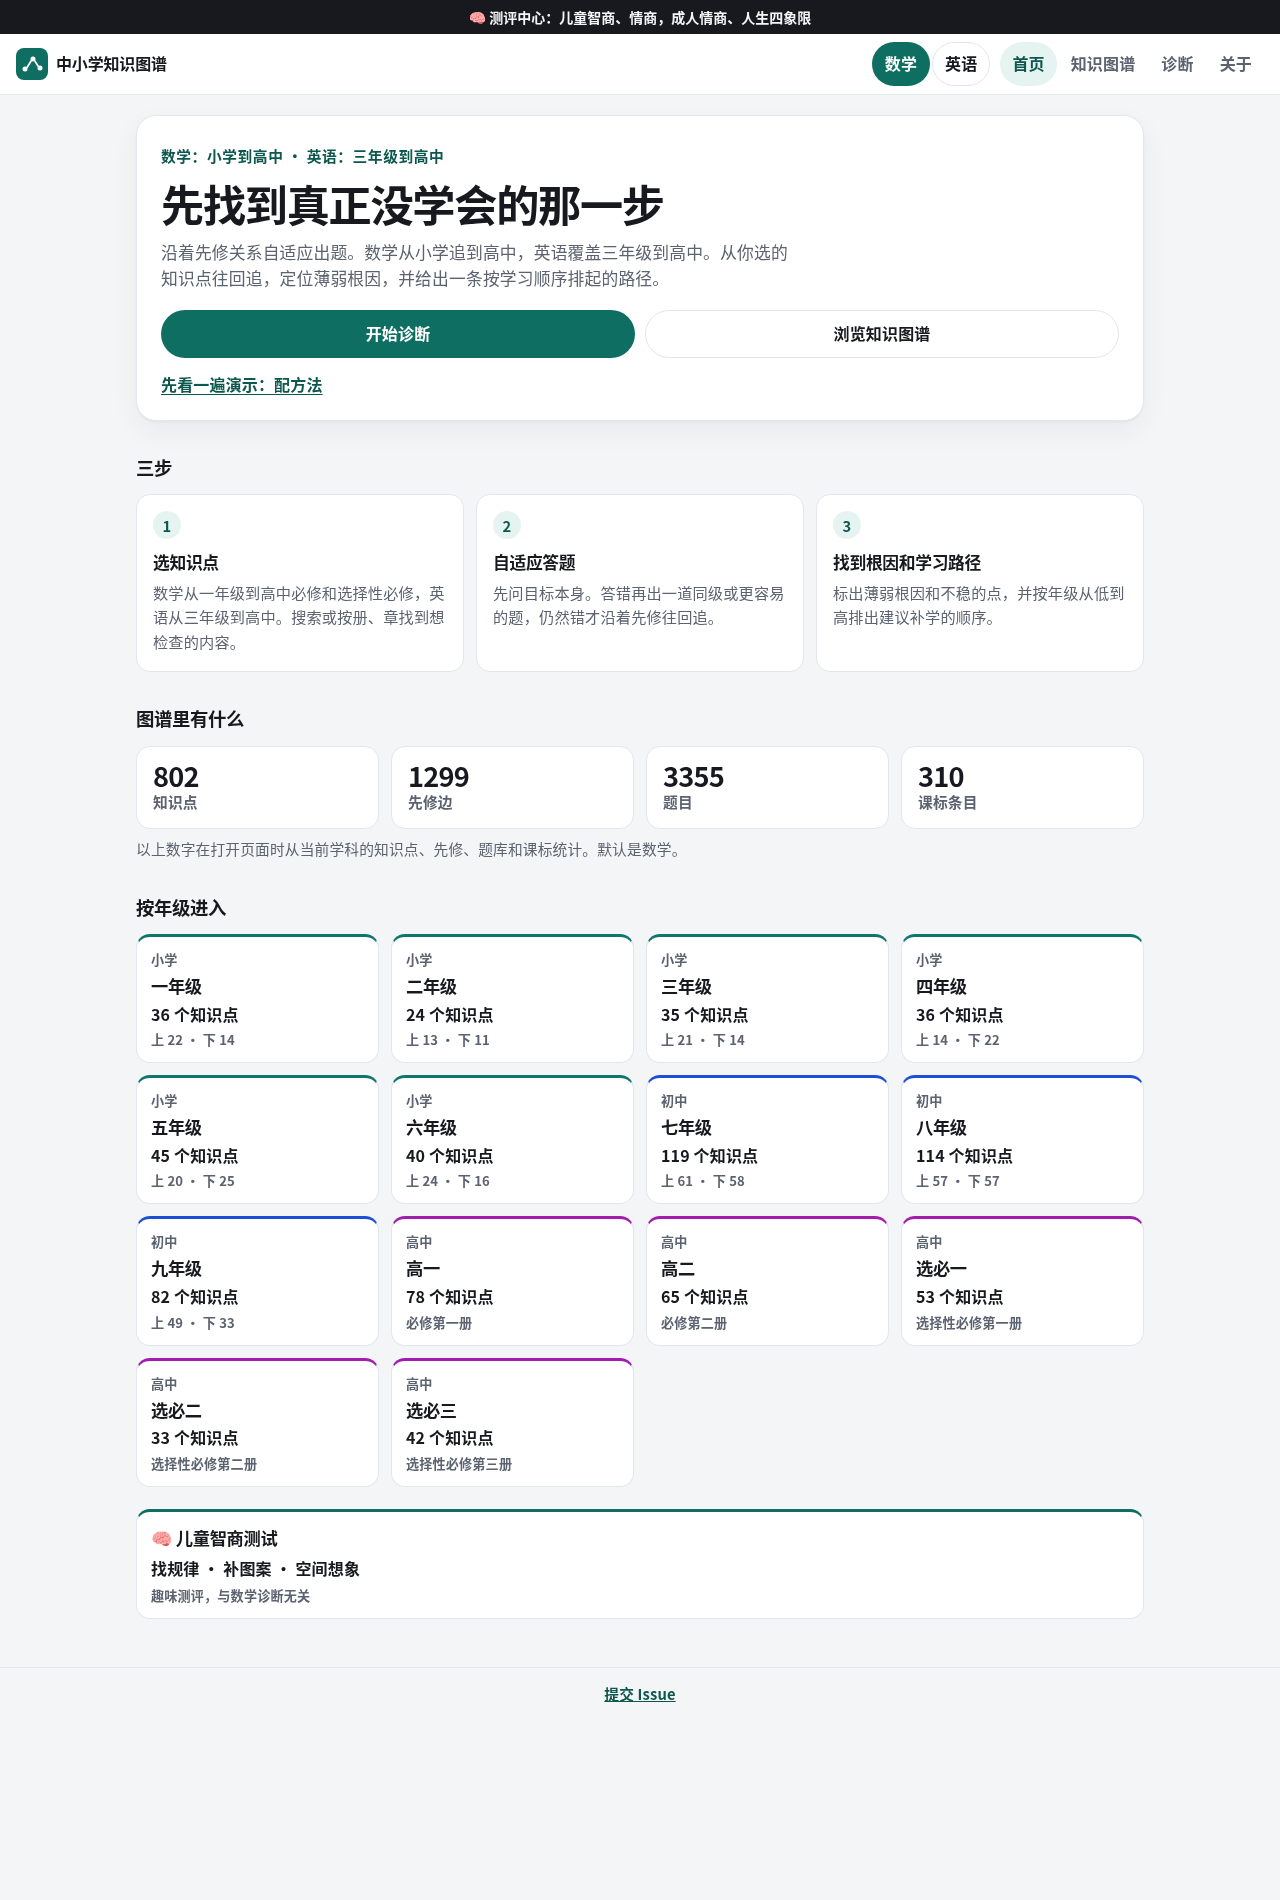
数学(小学到高中)、英语(三年级到高中)、初中物理的知识图谱:1644 个知识点、2403 条先修边、6723 道题,对齐课标,附自适应前置诊断。
Bring data to life with SVG, Canvas and HTML. :bar_chart::chart_with_upwards_trend::tada:

The 30 Days of Python programming challenge is a step-by-step guide to learn the Python programming language in 30 days. This challenge may take more than 100 days. Follow your own pace. These videos may help too: https://www.youtube.com/channel/UC7PNRuno1rzYPb1xLa4yktw
Google Cloud Platform Vertex AI end-to-end workflows for machine learning operations
A Collection of SAS Projects covering macro management, PROC MCMC, disproportionality measures, and much more.
Tips and Tools for using SAS Macros in all phases of projects
PRR, RR, IC, EBGM (MGPS) and more (including data prep)
Understanding Logistic Regression and Introductory Applications For AI/ML
This page is also available as structured data, with the same sources and dates.
/api/v1/resources/gh/statmike/teaching-pythonTake My Repo has not tested this on your machine. Requirements come from the project's own documentation.


