system-design-101
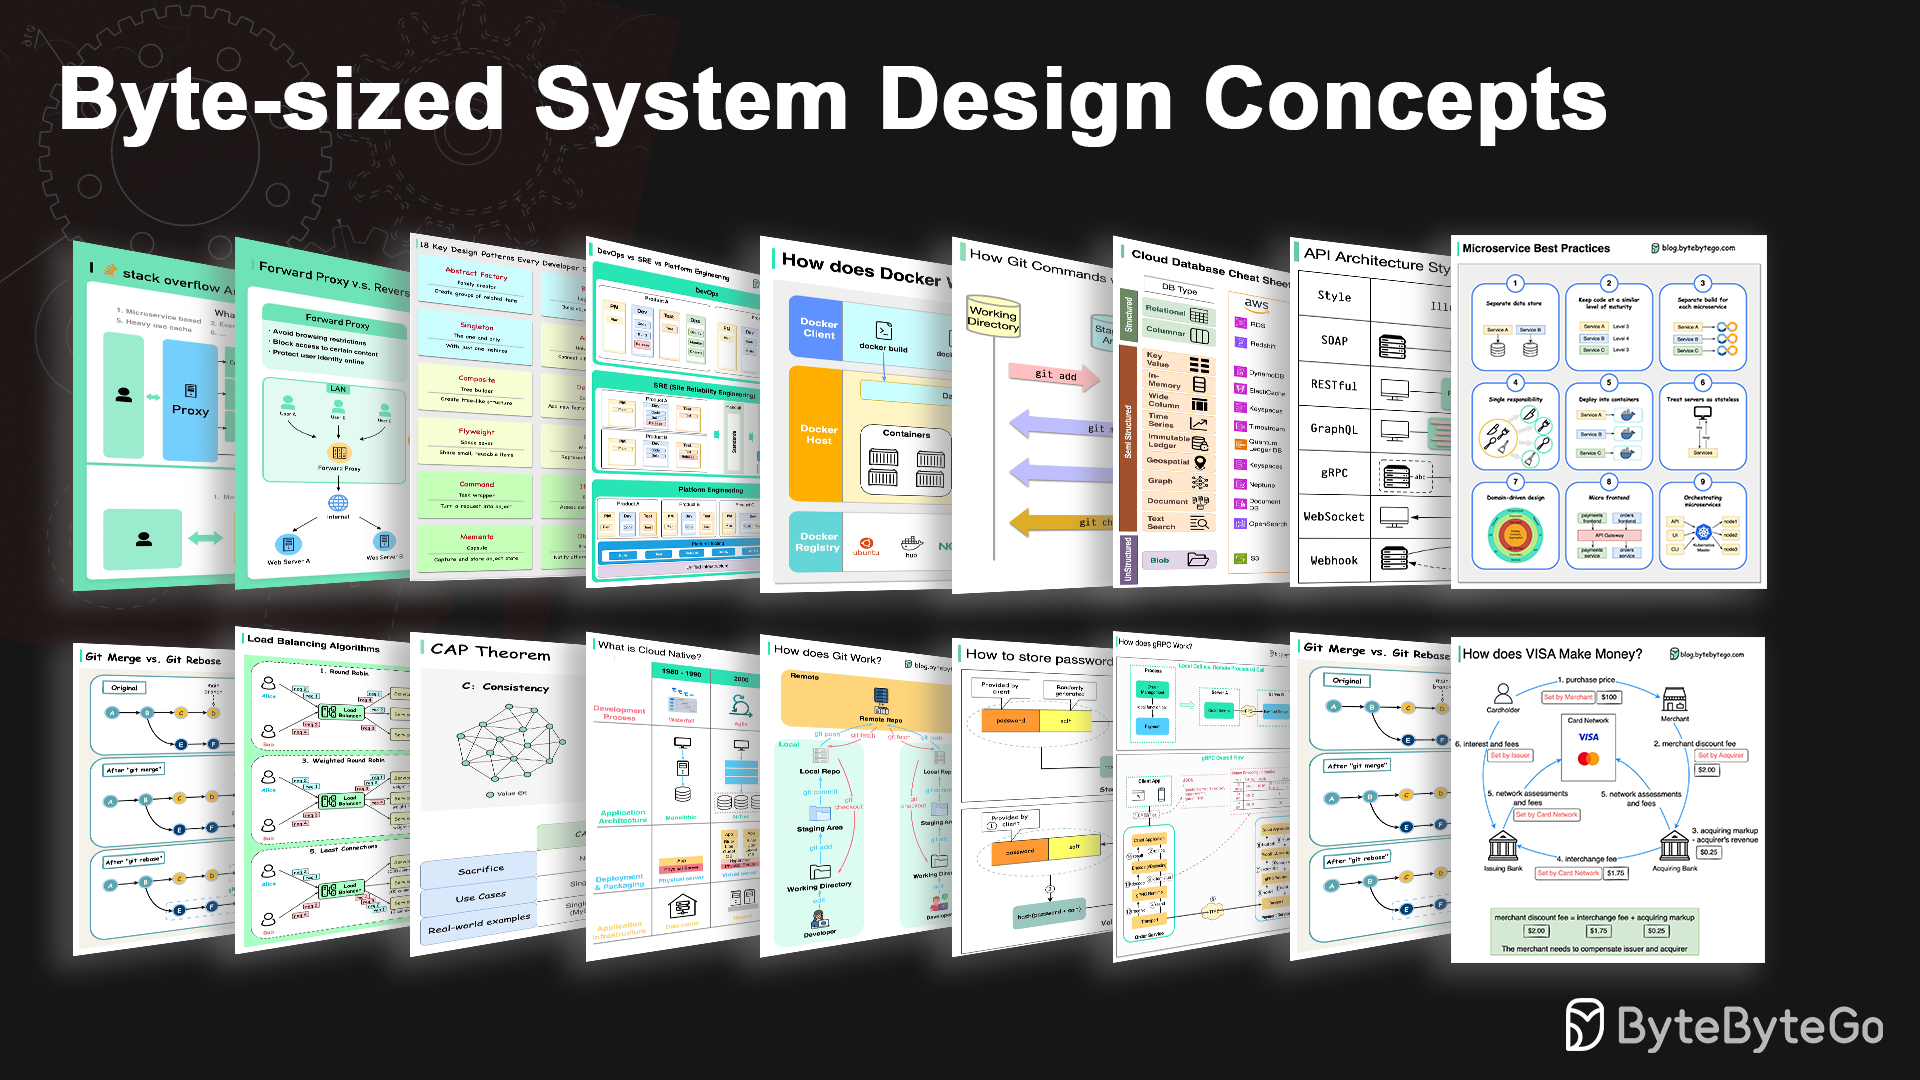
Explain complex systems using visuals and simple terms. Help you prepare for system design interviews.
- 91k
- 20 mo ago
Build and deploy a serverless API with Rust and AWS Lambda 🦀🚀
Repo Paulescu/rust-aws-lambda, read from GitHub 9 h ago. Paulescu has not joined Take My Repo.
Paulescu/rust-aws-lambda is a public repo on GitHub by Paulescu. Build and deploy a serverless API with Rust and AWS Lambda 🦀🚀. It declares no license on GitHub. Public does not mean open source: without a license, nobody is granted the right to reuse it. It is written mainly in Rust, has 9 stars and last changed on 2025-01-03. Nobody has reviewed it on Take My Repo yet, which says nothing about its quality. Read from GitHub on 2026-11-22.
In this project you will learn how to build a REST API in Rust and deploy it to AWS Lambda.
No more. No less.
Rust is a systems programming language that is fast, safe, and easy to use.
I won't lie to you. It is harder to learn than Python or JavaScript. But once you get the hang of it, you will be able to build
And dividends will start to flow. Both in terms of time and money. And don't forget, energy efficiency. Because Rust is greener than Python.
AWS Lambda is a serverless platform that allows you to run your code without having to worry about the underlying infrastructure.
Rust and AWS Lambda are the perfect match, because when you write your code in Rust, your program execution time is super fast, which means your cloud bills will be super low.
And this is what we want, right?
The dataset we will use for this example consists of historical taxi trip data from NYC taxis between 2017 and 2024. You can find the raw data on this public website.
💡 This is the kind of data that data engieeners at companies like Uber work with.
Every record in our dataset correponds to one taxi trip
{
    // info available when the trip starts
    "tpep_pickup_datetime": "2024-01-30T01:17:07Z",
    "PUlocationID": 123,    // starting location id
    "DOlocationID": 456,    // ending location id

    // info available when the trip is completed
    "tpep_dropoff_datetime":"2024-01-30T01:24:06Z",
    "trip_distance":1.06,
    "fare_amount":11.58
}
This type of data can be used to solve many real world business problems like:
Wanna to solve a real world business problem with this data?
In the Real-World ML Tutorial you will learn to build, step by step, an ML system that predicts taxi demand in each area of NYC hour by hour.
With this hands-on tutorial you will make the leap from ML model prototypes inside Jupyter notebooks to end-2-end ML systems, that generates live predictions that can be used to make business decisions.
Now, let's get back to our API!
We will need to install a few tools to get started:
The Rust compiler and Cargo package manager to package and compile your code.
Rust analyzer to get syntax highlighting and error checking in your editor
Cargo lambda to build and deploy your Lambda functions
AWS CLI to deploy your Lambda functions to AWS.
You can start a new Rust AWS Lambda project with the following command:
cargo lambda new rust-lambda-api --http
We add the
--httpflag to create a Lambda function that can be invoked via HTTP, so you can run it behind an API Gateway and expose it to the rest of services of your company's infrastructure.
With this command, Cargo Lambda will create a new Rust project with a basic structure.
├── Cargo.toml
├── src
│ ├── http_handler.rs
│ └── main.rs
└── README.md
Our lambda function does (like any other lambda function) 3 things:
Reads and parses the input parameters from the client request. In our case, the input parameters are
from_ms: The start date of the trip in milliseconds since the Unix epoch.n_results: The maximum number of results to return in the response.Does something from these parameters. In our case, it fetches the data from the NYC taxi dataset for the given time period.
Returns the result back to the client. In our case, it returns the collection of taxi trips as a JSON.
This is precisely what I have implemented in the src/http_handler.rs file.
The meat of this function is actually done in the src/lib.rs file, by the get_trips function.
// lib.rs

// public because we want to use it in the http_handler.rs file
// async to do non-blocking I/O operations, like downloading
// files from the internet, so we can handle many concurrent requests
// anyhow::Result to handle errors
// without having to define a custom error type every time.
pub async fn get_trips(
    from_ms: i64,
    n_results: i64,
    fake_data: Option<bool>,
) -> anyhow::Result<Vec<Trip>> {
    if fake_data.unwrap_or(false) {
        // if fake_data is true, we return a list of fake trips
        // we await because get_fake_trips is an async
        // function. This means it retuns a Future type, that
        // await unpacks.
        return get_fake_trips(from_ms, n_results).await;
    }

    // extract the year and month from the from_ms timestamp
    // no big deal
    let (year, month) = get_year_and_month(from_ms);
    info!("Extracted year: {}, month: {}", year, month);

    // Downloads the parquet file from the NYC taxi website
    info!(
        "Downloading parquet file for year: {}, month: {}",
        year, month
    );
    let file_path = download_parquet_file(year, month).await?;

    // Load parquet file with Polars, filter by the given time period and return the trips
    let trips = get_trips_from_file(&file_path, from_ms, n_results)?;

    info!("Returning {} trips", trips.len());

    // return the trips as a Result type with the Ok variant
    Ok(trips)
}
Don't worry if you don't understand all the details of the code. The first time you see it, it is normal to feel a bit overwhelmed.
I added a few comments to the code to help you understand it. I also recommend you read these previous 3 articles I wrote about Rust.
You can start the API locally with the following command:
cargo lambda watch
This commands starts a local server that you can invoke with your browser or with the following curl command:
curl "http://localhost:9000/get_trips?from_ms=1719849600000&n_results=100"
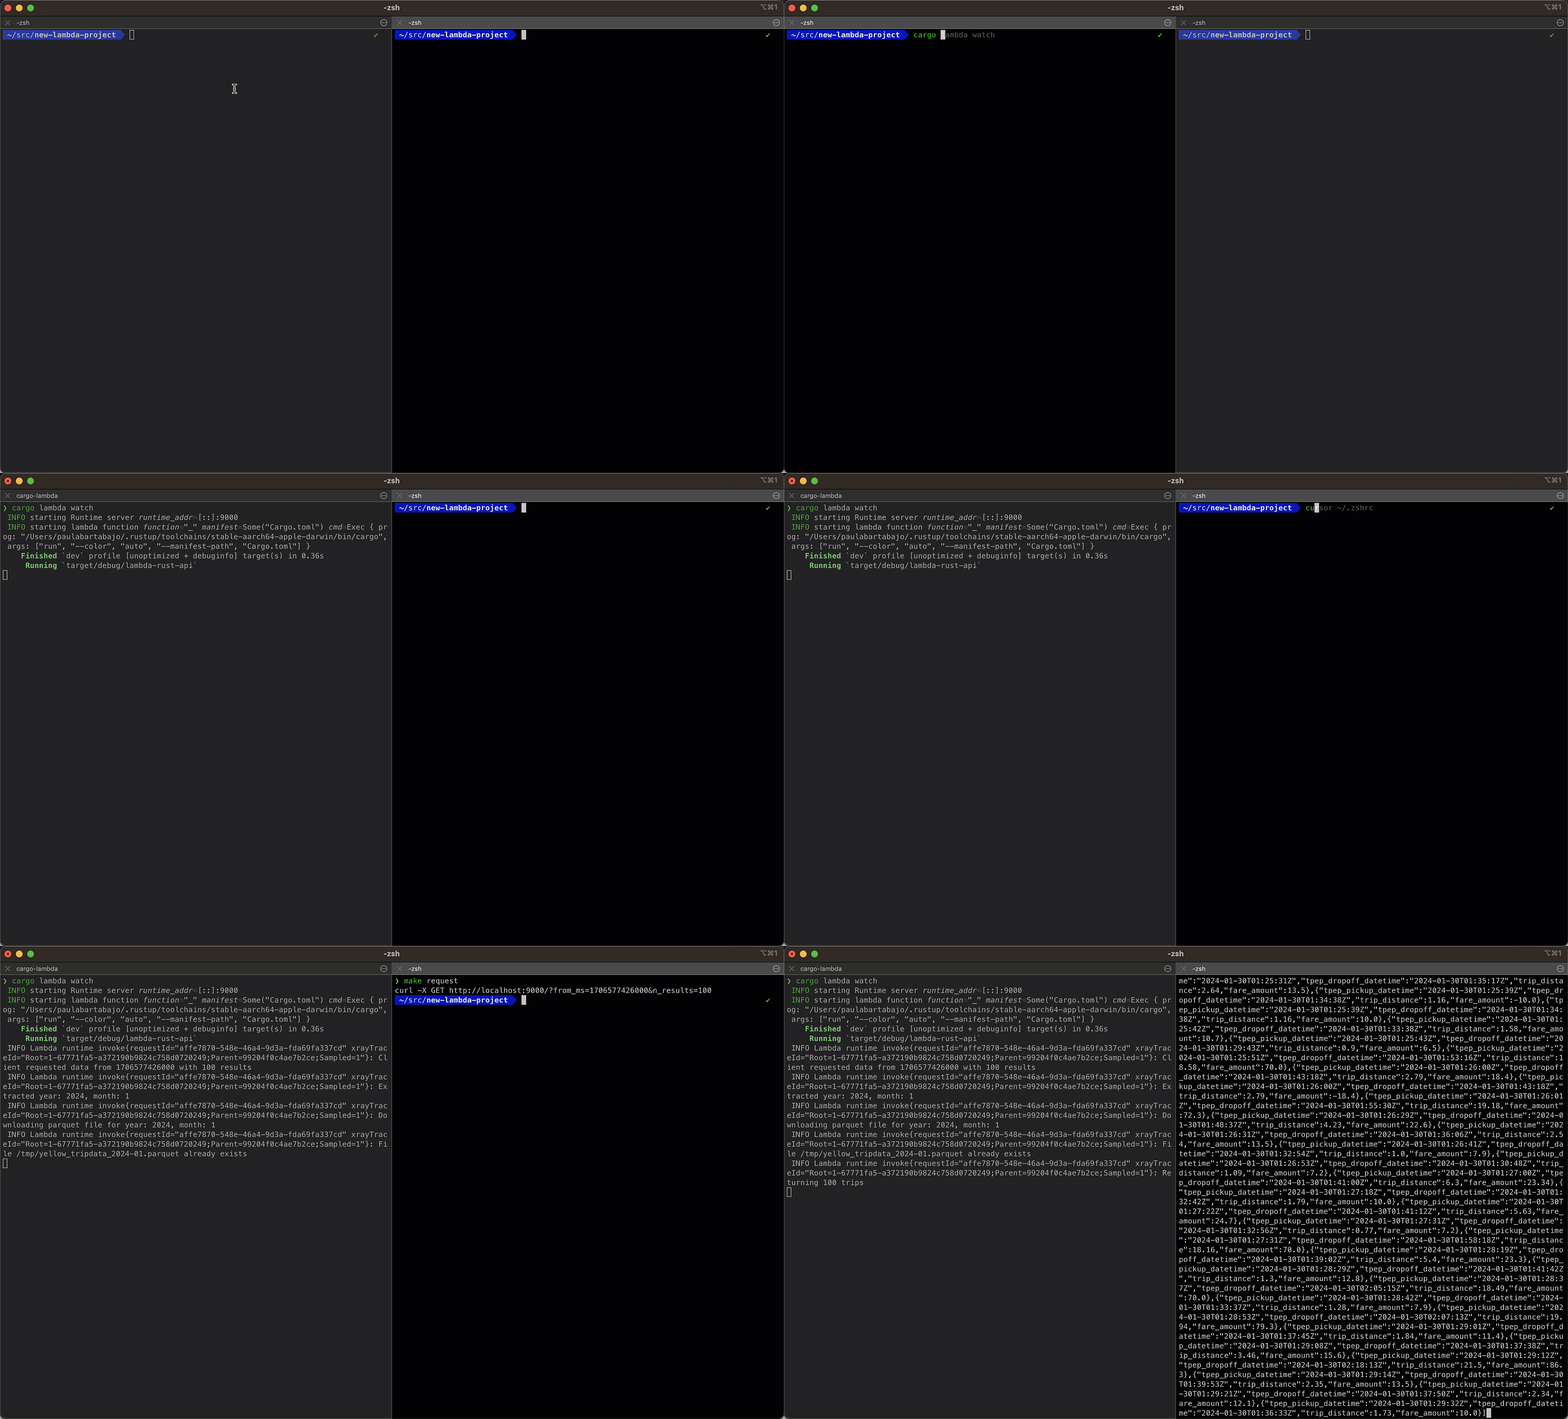
Before deploying the API to AWS Lambda, we need to make sure it works as expected.
This is super important when you release new versions of your code to production, and you want to make sure it works as expected.
In the src/http_handler.rs file, you will find a #[cfg(test)] block with one unit test, that sends a sample request to the API and checks if the API returns a 200 OK response.
#[cfg(test)]
mod tests {
    use super::*;
    use lambda_http::{Request, RequestExt};
    use std::collections::HashMap;

    #[tokio::test]
    async fn test_success_response() {
        let mut query_string_parameters: HashMap<String, String> = HashMap::new();
        query_string_parameters.insert("from_ms".into(), "1719783621000".into());
        query_string_parameters.insert("n_results".into(), "50".into());

        let request = Request::default().with_query_string_parameters(query_string_parameters);

        let response = function_handler(request).await.unwrap();

        // Check that the response is 200 OK
        assert_eq!(response.status(), 200);
    }
}
You can run the test with
cargo test
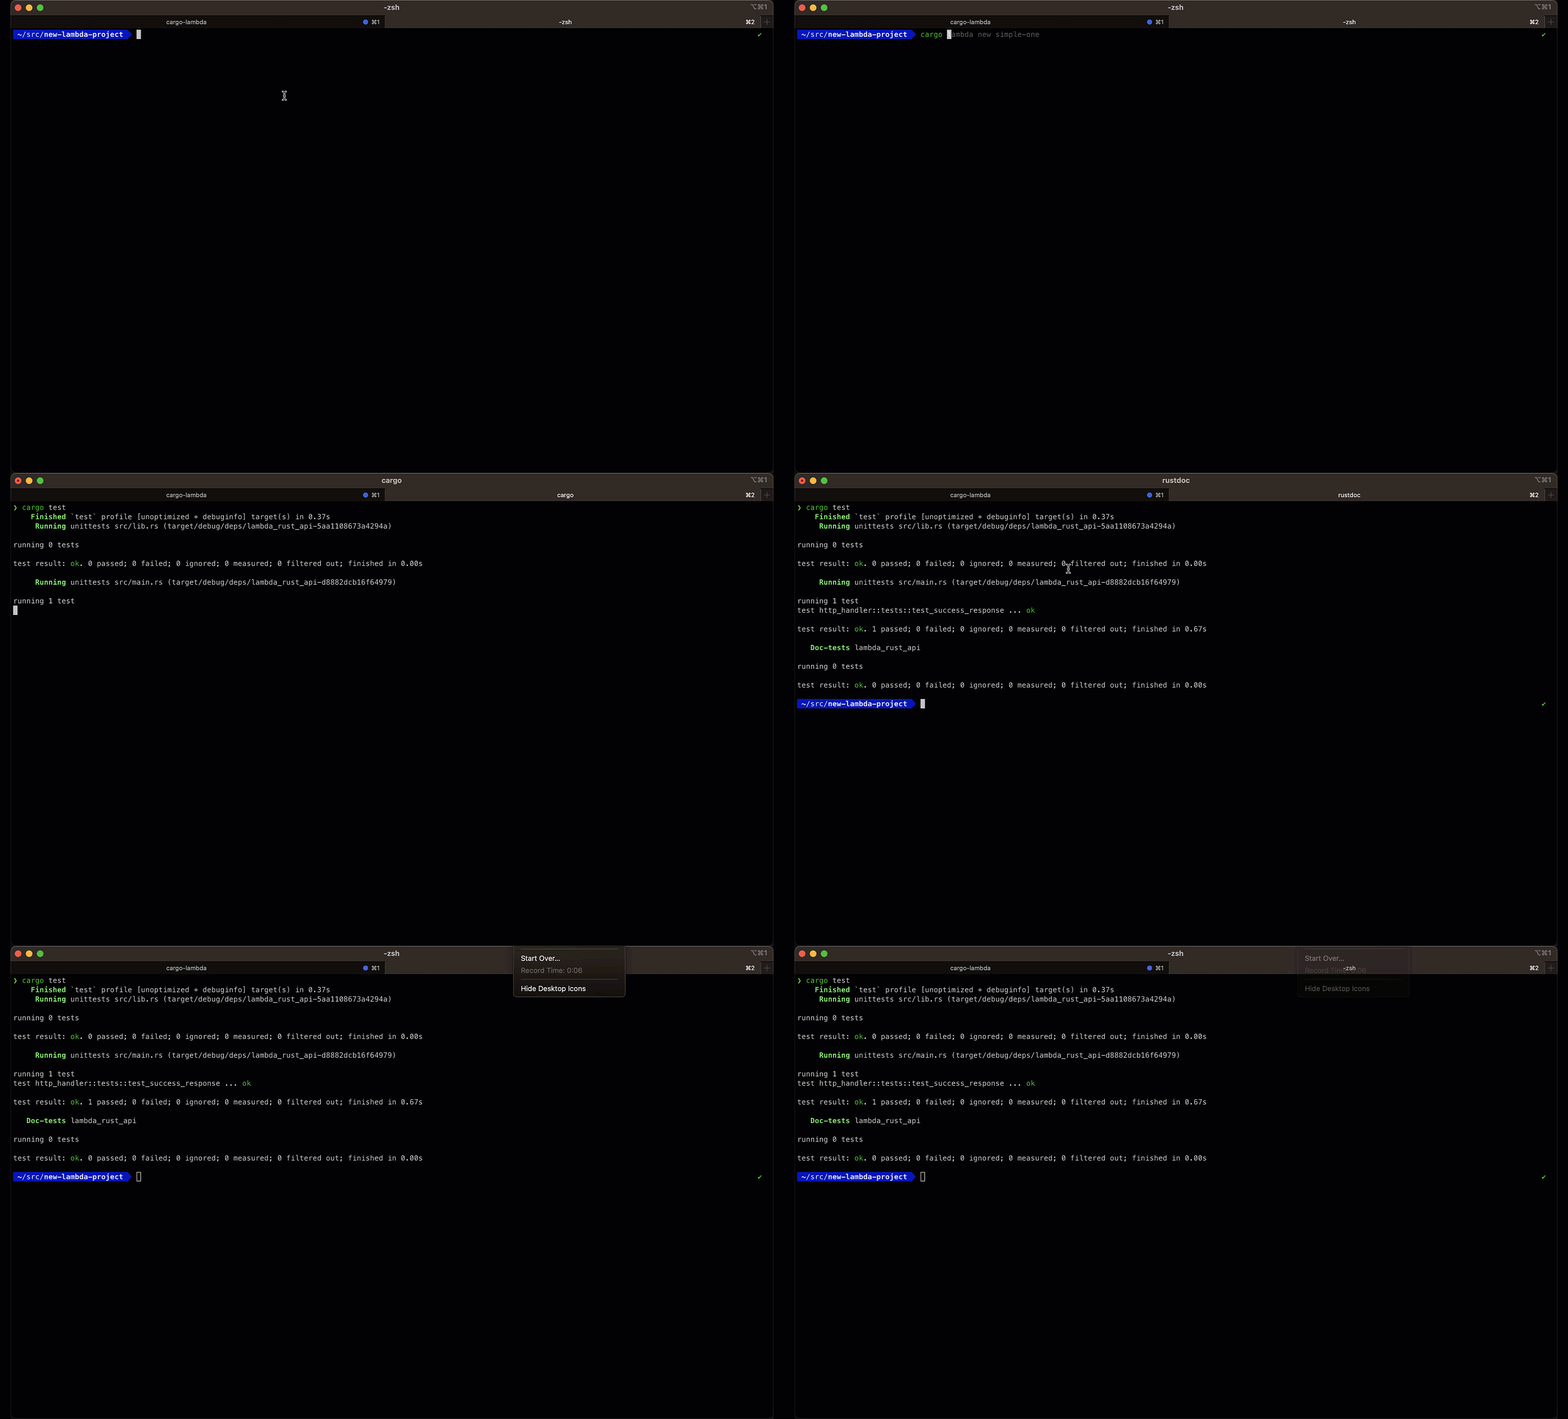
Before deploying the API to AWS Lambda, we need to build the lambda function. Remember that Rust is a compiled language, so we need to compile the code before deploying it.
We can do this with the following command:
cargo lambda build --release --arm64
This will create a bootstrap binary in the target/lambda/lambda-rust-api directory.
├── src
│ ├── http_handler.rs
│ └── main.rs
└── target
  └── lambda
    └── lambda-rust-api
        └── bootstrap
To deploy to AWS Lambda you will need an AWS account with a user that has the necessary permissions to deploy to AWS Lambda.
From the AWS console IAM page, generate a new access key for your user.
Save the access key id and secret access key in your .aws/credentials file.
[NAME_OF_YOUR_AWS_PROFILE]
aws_access_key_id = YOUR_KEY_ID
aws_secret_access_key = YOUR_SECRET_KEY
You can now deploy the API to AWS Lambda with the following command:
cargo lambda deploy lambda-rust-api \
    --timeout 10 \
    --memory-size 1024 \
    --env-var RUST_LOG=info \
    --profile YOUR_AWS_PROFILE_NAME # Use the one in your ~/.aws/credentials that corresponds to your AWS user
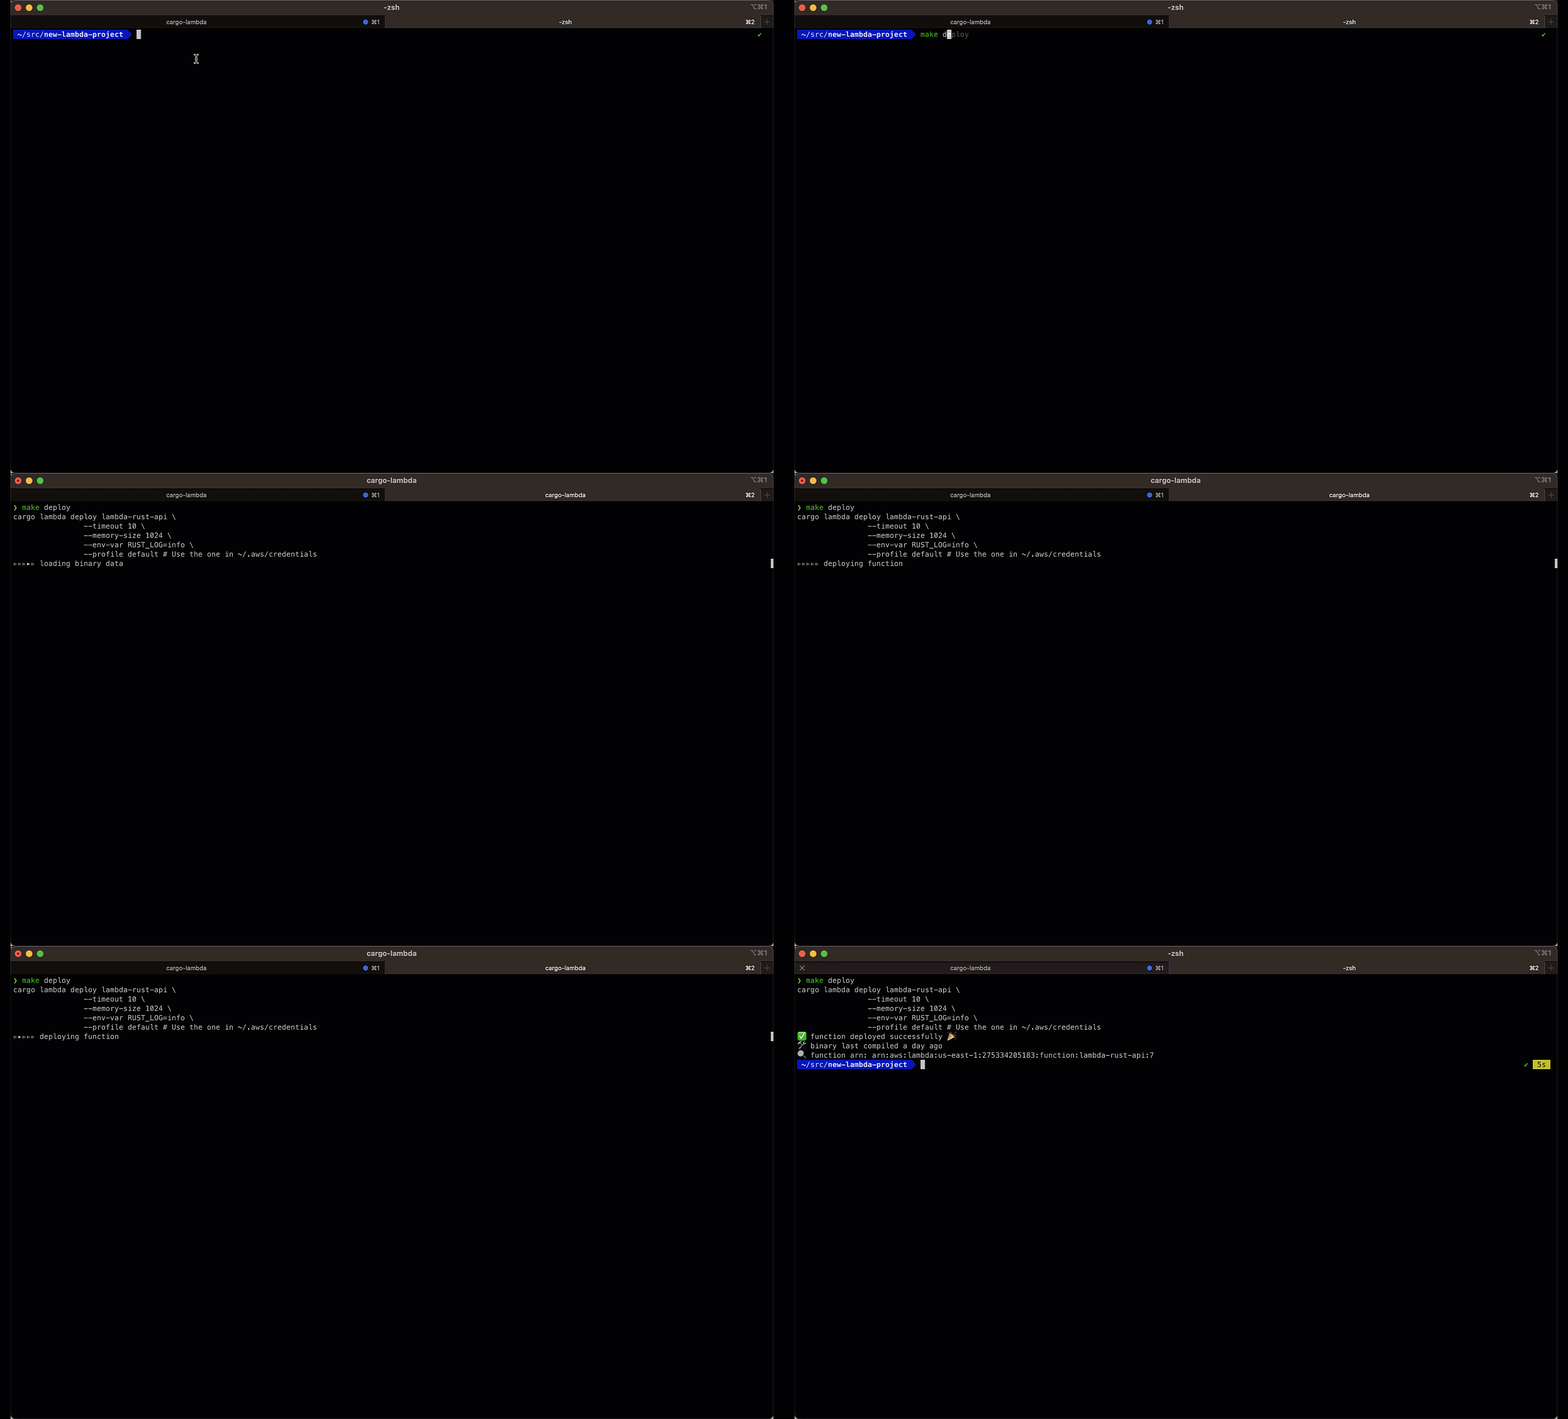
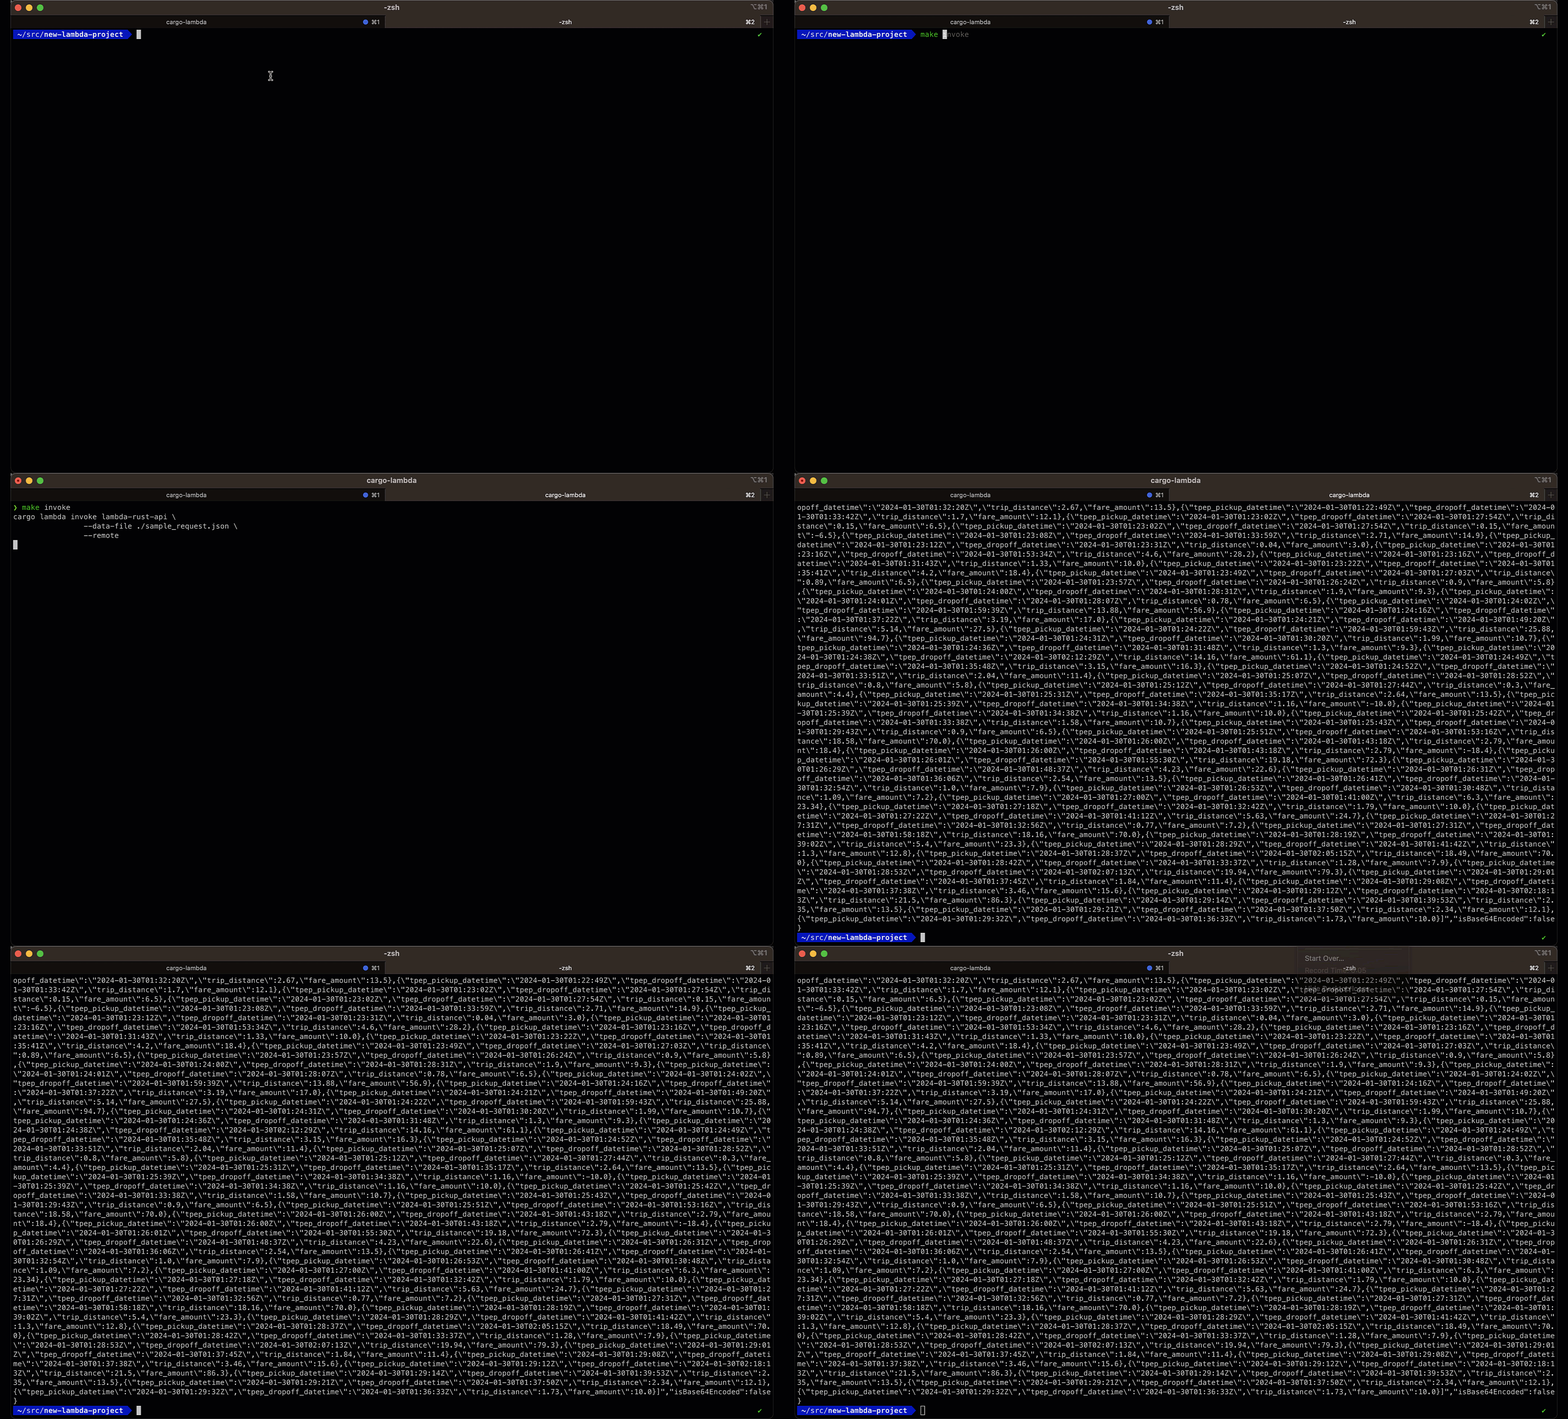
You can invoke the API with the following command:
cargo lambda invoke lambda-rust-api \
    --data-file ./sample_request.json \
    --remote # meaning, we are invoking the API running on AWS remotely, not the local one
The sample_request.json file contains a sample request compatible with AWS API Gateway.
You can find it, as well as other samples in this repository.
Super fast. Super cheap. Super Rust.
This is what companies need to build to scale their business.
And this is what you learn with my courses.
Paulescu/rust-aws-lambda is a public repo on GitHub by Paulescu. Build and deploy a serverless API with Rust and AWS Lambda 🦀🚀.
It declares no license on GitHub. Public does not mean open source: without a license, nobody is granted the right to reuse it.
Its maker has not tagged a system, so it is unknown here. Its README says what it needs.
Open "Take it" on its page: Take My Repo writes an install plan for your machine and hands it to your AI agent (Claude Code, Codex or Cursor), which asks you before each step. Take My Repo has not tested it on any machine.
Its last change on GitHub was on 2025-01-03. Take My Repo does not judge from that whether it is maintained.
Nobody has reviewed it on Take My Repo yet, which says nothing about its quality.
Explain complex systems using visuals and simple terms. Help you prepare for system design interviews.
This is a repo with links to everything you'd ever want to learn about data engineering
Turns Data and AI algorithms into production-ready web applications in no time.
Easily add ANSI colors to your text and symbols in the terminal. ansi-colors is the official ansi styling library for gulp. Used by hundreds of projects, including enquirer, vscode, codeql, azure data studio, aws-cdk, redwoodjs, leaflet, mocha, and many others.
Linux, Jenkins, AWS, SRE, Prometheus, Docker, Python, Ansible, Git, Kubernetes, Terraform, OpenStack, SQL, NoSQL, Azure, GCP, DNS, Elastic, Network, Virtualization. DevOps Interview Questions
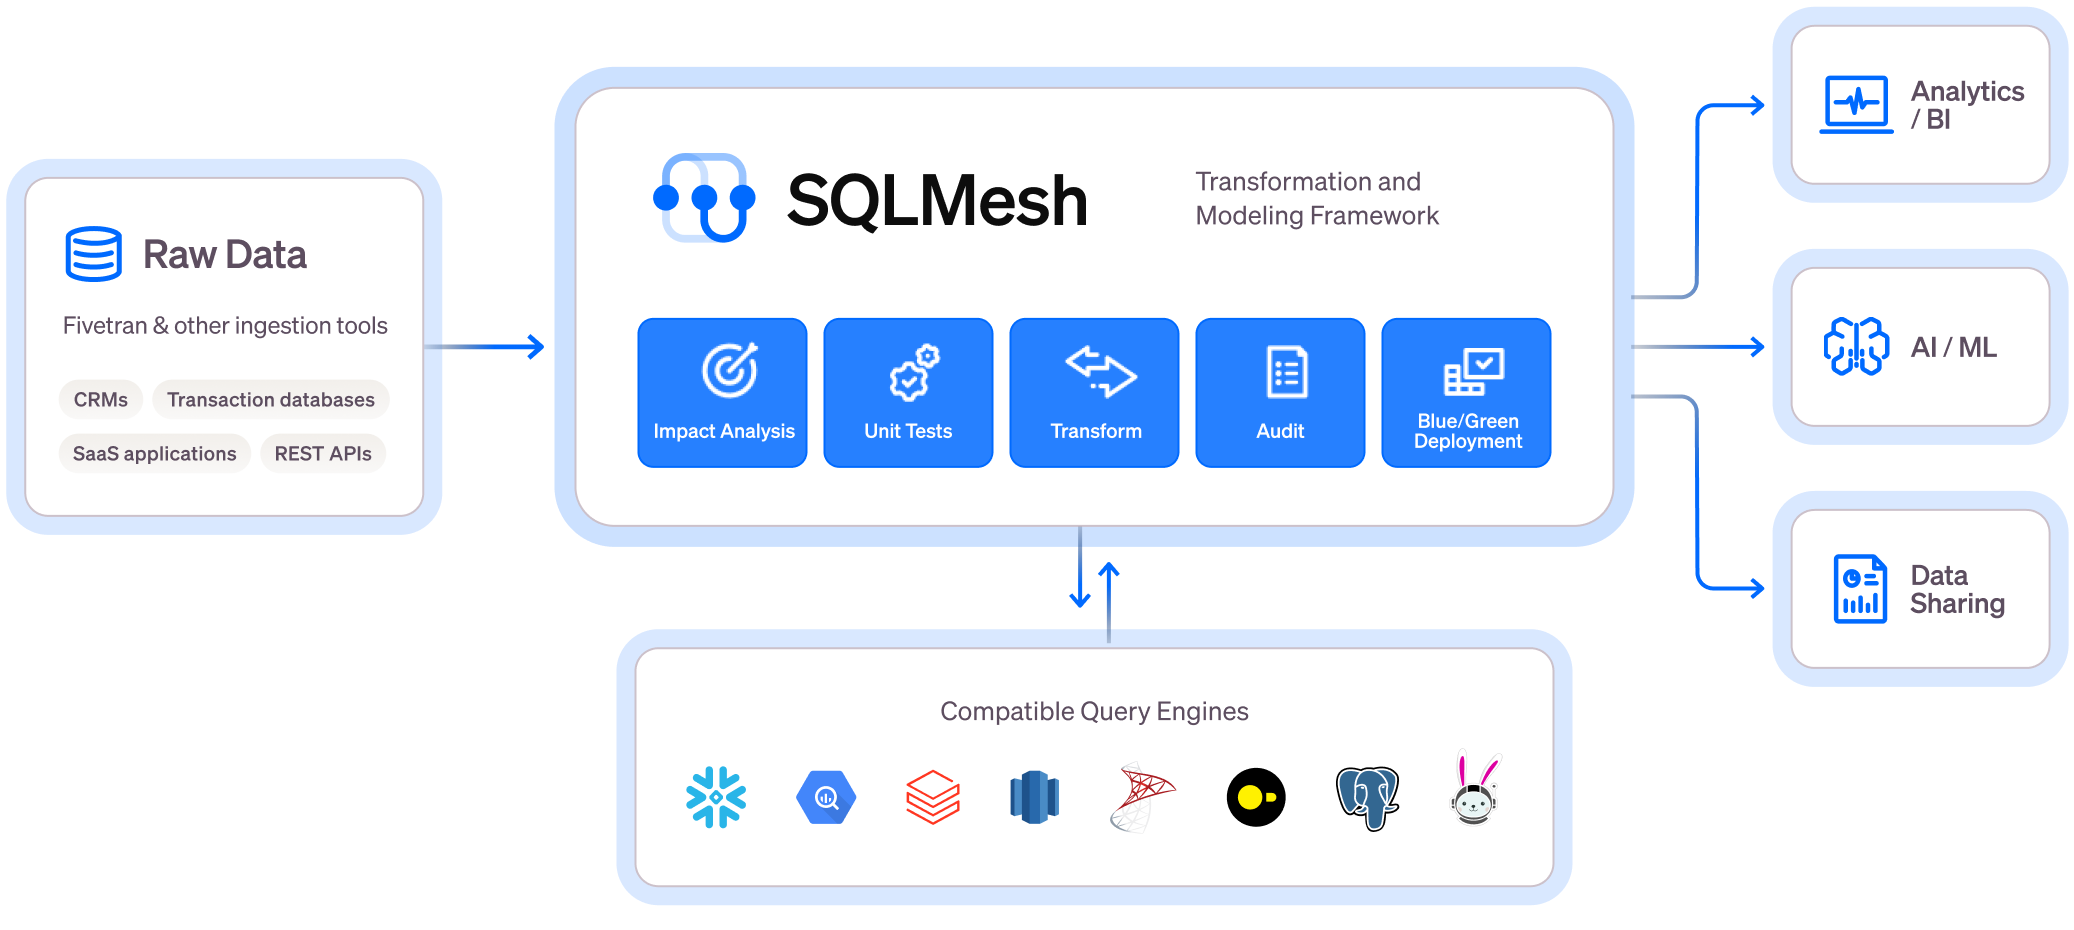
Scalable and efficient data transformation framework - backwards compatible with dbt.
Free course that takes you from zero to Reinforcement Learning PRO 🦸🏻🦸🏽
Train and Deploy an ML REST API to predict crypto prices, in 10 steps
Learn to build and deploy local Visual Language Models for Edge AI
Compute and store real-time features for crypto trading using Bytwax (stream processing) and Hopsworks (Feature Store)